As I mentioned in My Reflections on 2017 post in January, my husband and I recently moved. The move was desperately needed as we were bursting at the seams in our previous house. DIY Kitchen pantry.
When we found our new house, we fell in love. It was an instant this-is-the-perfect-house-for-us moment and after the solicitors did their thing and the keys ended up in our hands, we moved in. The kitchen (and the rest of the house) is in desperate need of a facelift, with 60s decor and accoutrements (including wood chip wallpaper…on every surface imaginable, but more on that later).
But the one thing I instantly knew I needed was storage.
Pantry storage. Food storage.
At our previous house, we had a corner cupboard that could hold tons of our dry goods, spices, and appliances, which was a really great investment when we did some major renovation work on the kitchen. The new house had no such pantry or room in the kitchen to even accommodate a pantry or a larder – and it’s definitely not in the budget to do major renovation work.
DIY Haven
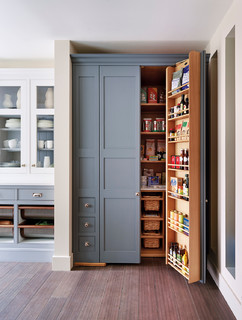
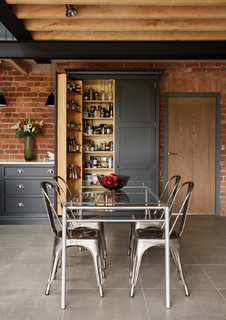
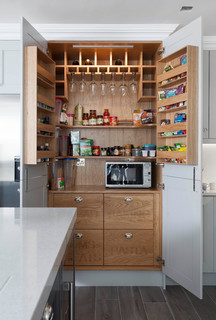
With limited funds, this meant we needed to roll up the sleeves and get to work to make the kitchen work for us. The existing cupboard space needed to be allocated to kitchenware, so that meant furniture. I started to browse for free-standing pantries or Welsh dressers, something I could fit in the reception room off the kitchen, and found that so-called “Pantry Porn” is on the rise according to Houzz (dailymail.co.uk)!
I can understand why – look at how gorgeous these are!
However, I immediately knew I would have to be creative instead of hunting for the perfect cabinet. With the move, money was too tight to fork out £500-1500 on a piece of furniture as we were in need of new appliances. On the list of priorities, a washing machine and dishwasher handily outranked a cabinet, no matter how beautiful. I even searched for second hand cupboards, but found the ones I liked were still out of our price range.
Advertisement
Creative repurposing
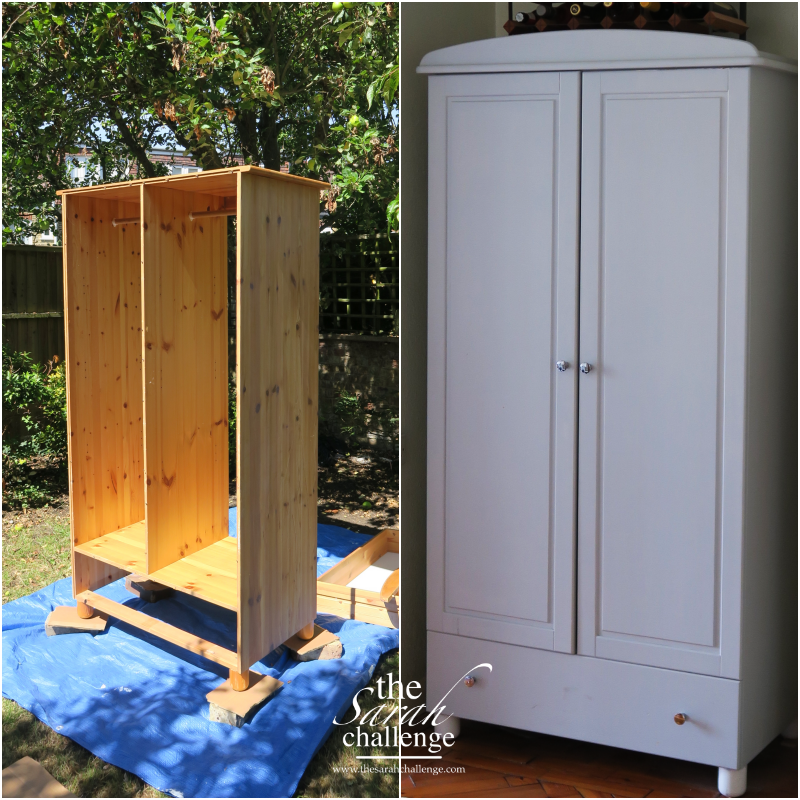
With a limited budget, my mind immediately went to an old pine IKEA cupboard my husband received second hand many years ago – it’s so old I couldn’t even find what the product name was. (If you know what model it is, please let me know in the comments!).
We had flat packed it into the attic at our old house once we had a built-in closet installed – so it hadn’t been used for quite a bit but I knew it would do the job. It wasn’t quite Shaker like the ones I liked, but I could:
- easily picture putting a few shelves in the IKEA cabinet
- hanging shelves on the doors for spices
- use the drawer for tablecloths, napkins, and dishcloths
And, most importantly, the price was right.
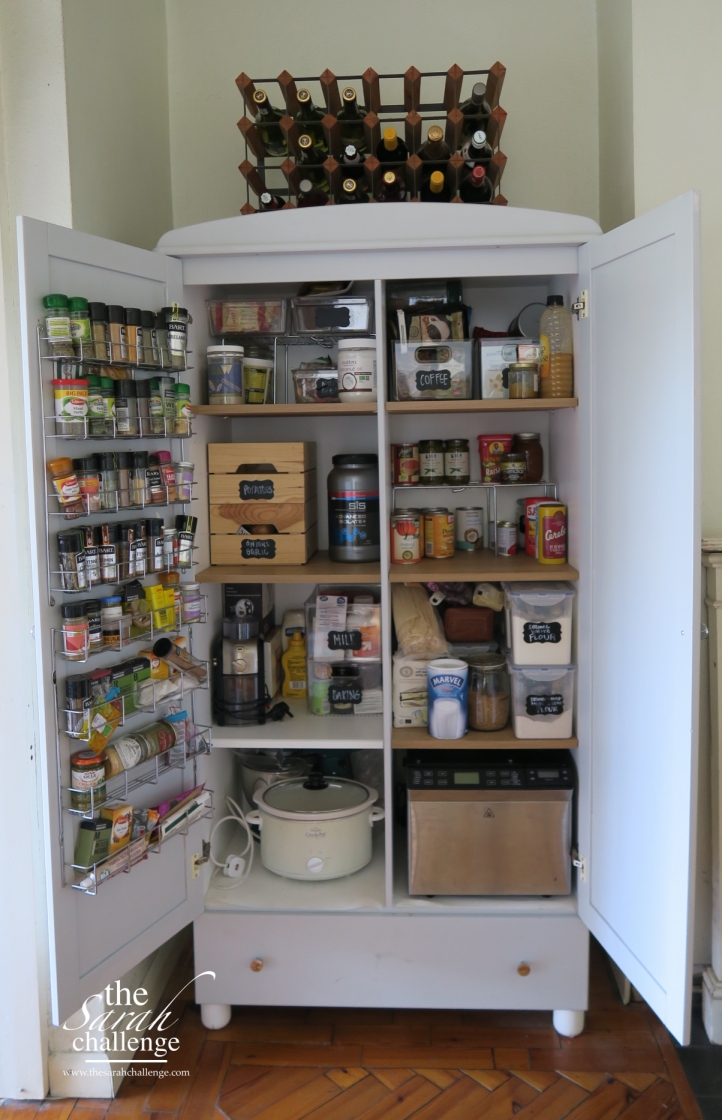
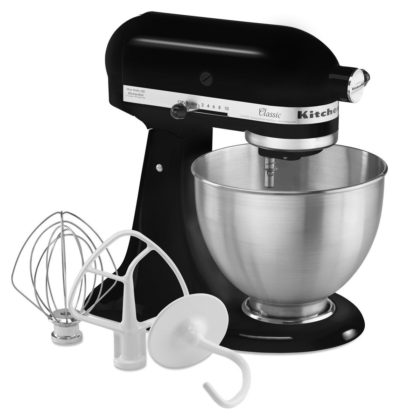
Once we made the move, I measured everything – my soon-to-be DIY kitchen pantry would fit in the reception room, the doors would hide the pantry contents, and best of all – our Lakeland bread maker and Kitchen Aid stand mixer fit width wise.
I was in business.
Supplies for my DIY Kitchen Pantry
- old wardrobe
- 4 replacement kitchen pulls
- grey paint (exterior colour)
- white paint (interior colour)
- 2 small rollers
- paint tray
- 1 small paint brush for corners
- light sandpaper block or a belt sander
- face mask for sanding
- wood filler
- putty knife
- wood for shelves
- shelf holders
Elbow Grease
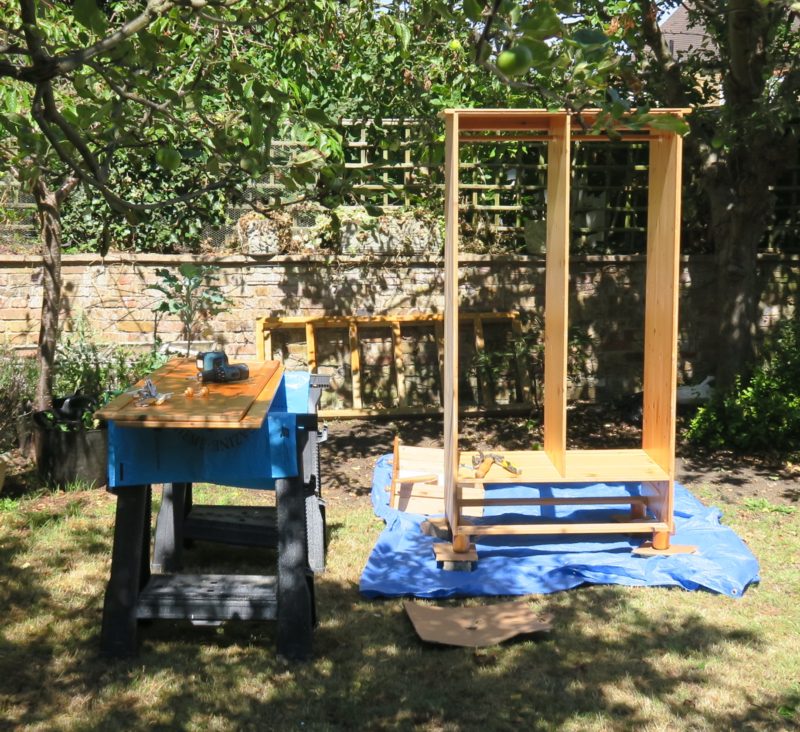
Once I gathered my supplies, I set up shop outside in the garden and my first order of business was to repair the signs of age. The wardrobe had moved more times than either of us could remember, and it showed. A few dents, scrapes, bashes, and holes awaited me while I sanded down all the pieces. I filled them in with wood putty as I went along and after it dried, sanded it one more time.
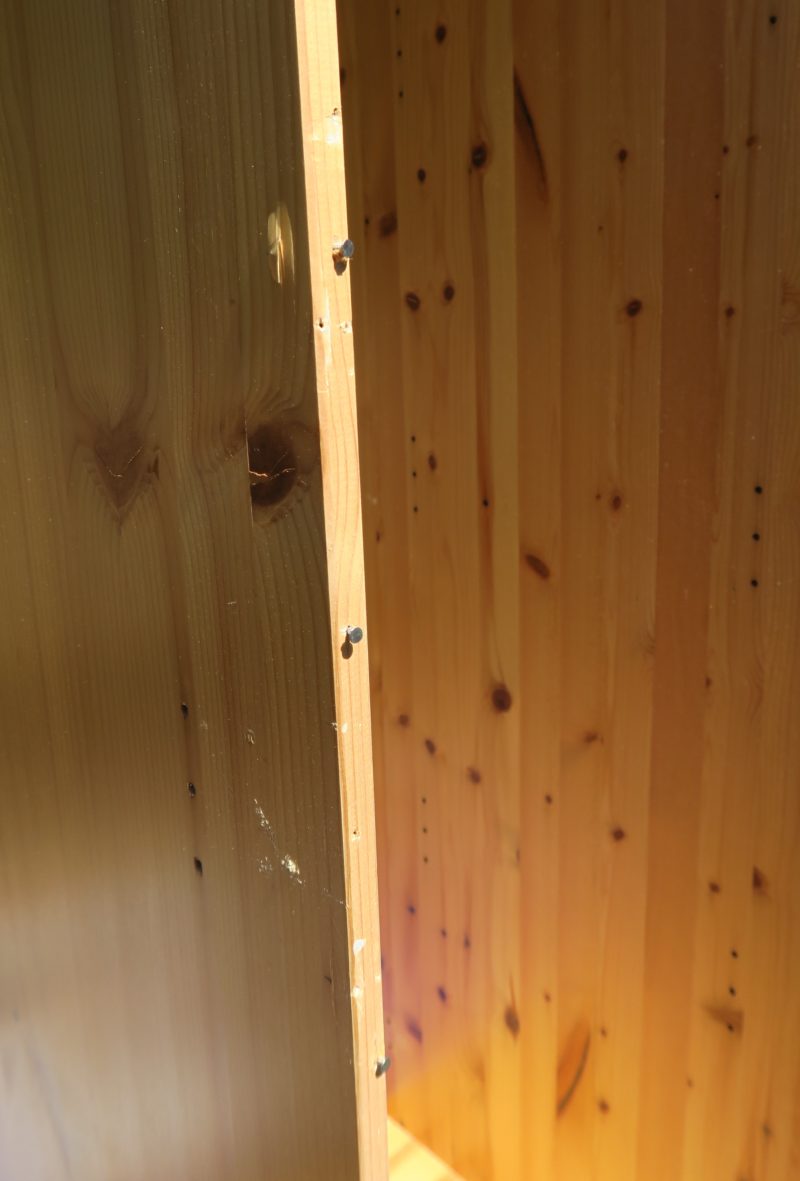
I also had to remove several stuck finishing nails from the hardboard – which were stubborn to remove. A hammer and some major elbow grease helped to remove these.
Advertisement
Painting
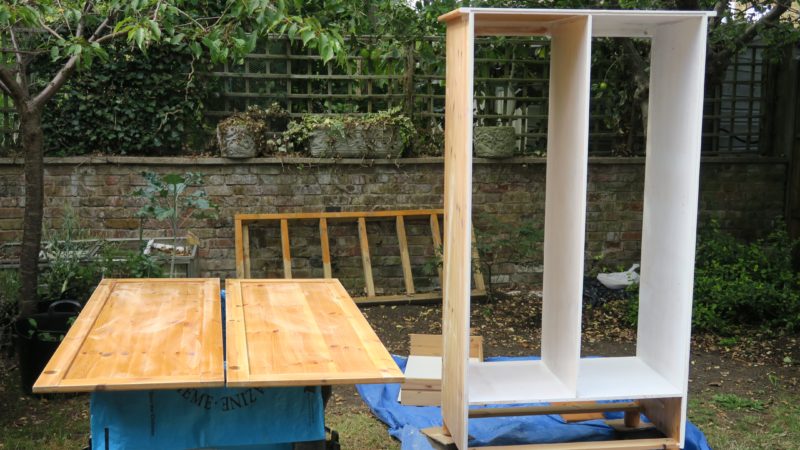
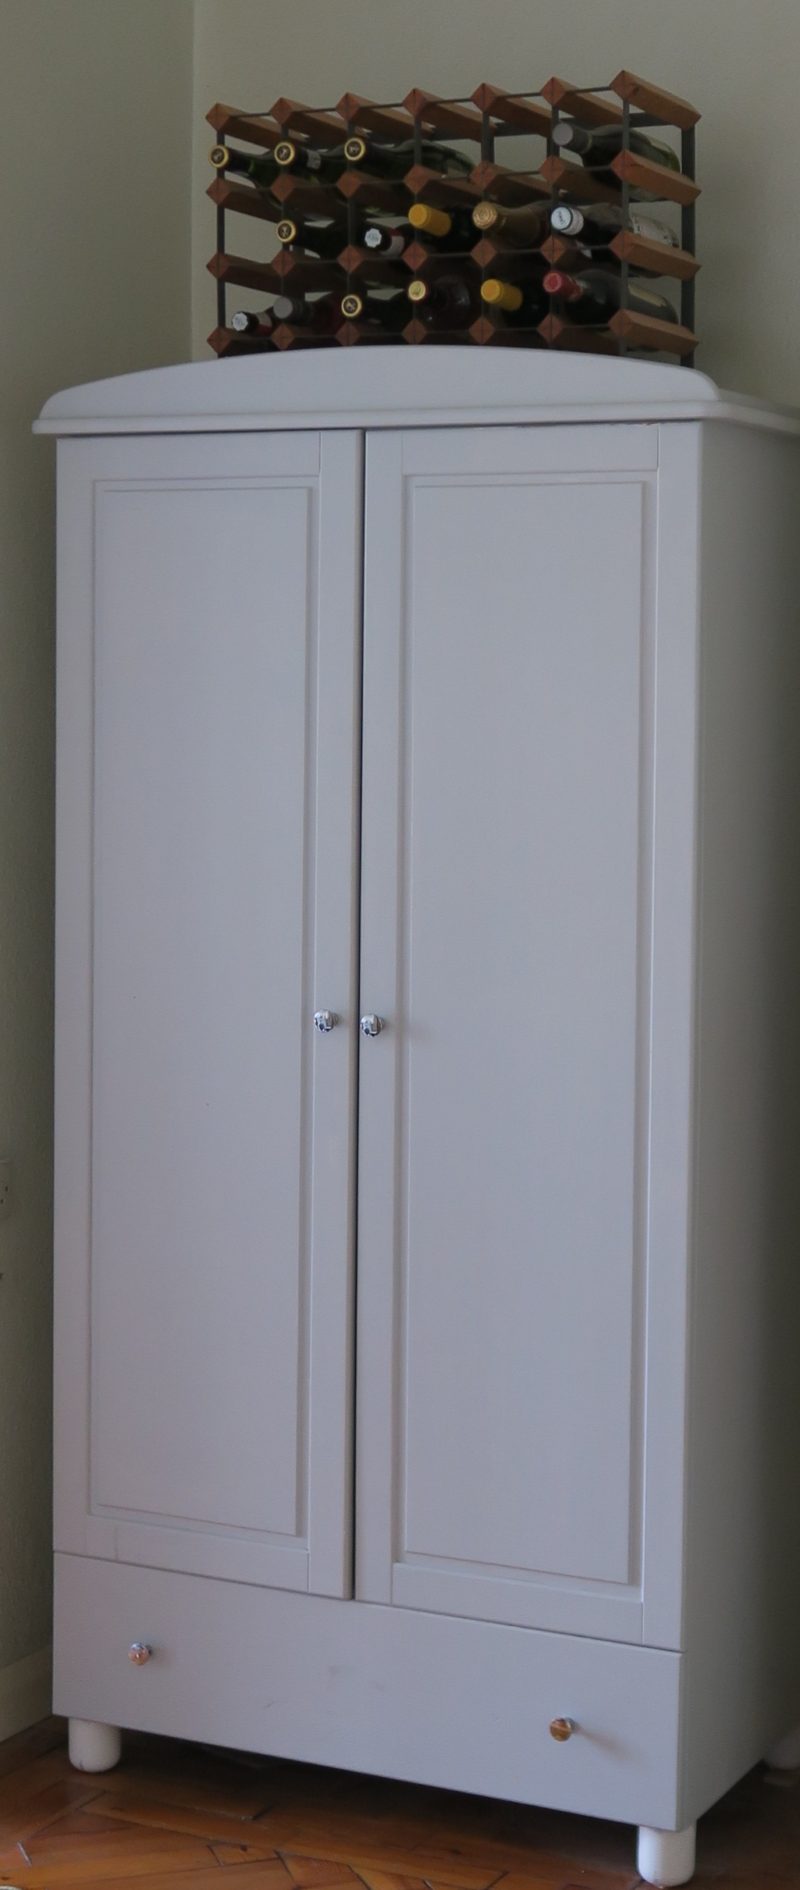
After that, I started in with my primer and gave everything a light coat. I had an old can of primer sitting around, so I didn’t need to purchase a new one, so that thankfully kept the budget light. I used white as I picked a lovely light grey semi-gloss for the exterior finish. After patching the damages, I decided to paint the inside instead of leaving it exposed as in Pantry Porn inspiration images.
In the end, I painted two coats of primer before calling it a day and bringing everything inside and painted the final grey colour the next Saturday. The paint was from the local DIY store, which I thought would be plenty for this project, but I vastly underestimated the amount of paint I needed. Three solid coats later, including the inside of the doors and drawer, the quart size was just barely enough to cover everything. You may be able to get away with a quart of paint if you are happy with two coats, but for me, the primer showed through in some spots as the grey colour is very light. If I were to do this project over, I would buy a larger size paint!
Once the paint – both inside and out – dried, I then hammered on the new hardboard (carefully!) back on and it really brought the piece together. (The old hardboard was beyond saving from years of reuse and the strains of moving.).
Cutting shelves to size
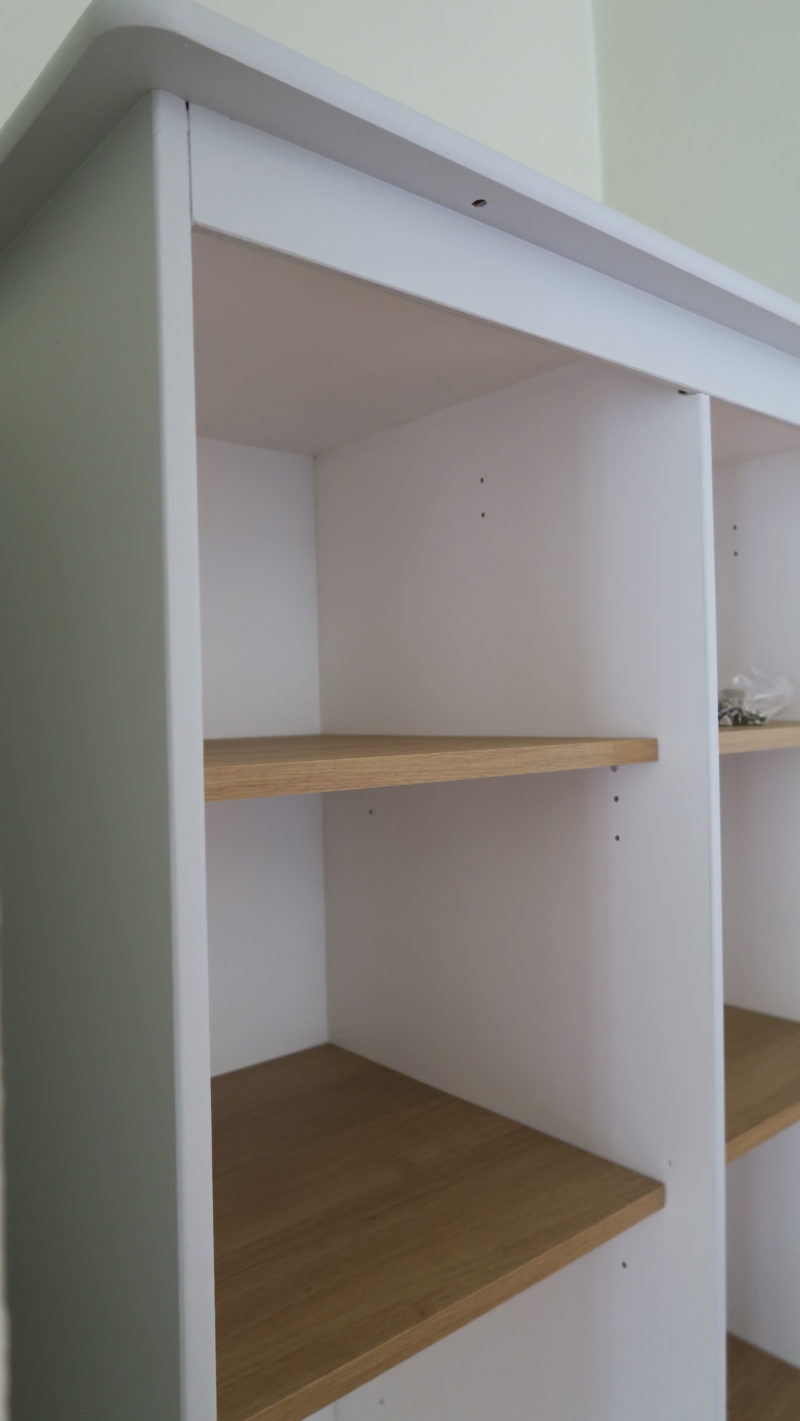
I then turned to my husband to help cut a few shelves for the inside. I opted to buy some prefabricated/faux oak shelves, which we then measured to be 42″ deep and 45″ wide. The heights would allow taller bottles and baskets, as well as organisational shelves.
We were very lucky and the wardrobe came with pre-drilled holes for shelf clips on both sides of the wardrobe, so once the shelves were cut, it was incredibly easy to finish. Gotta love IKEA!
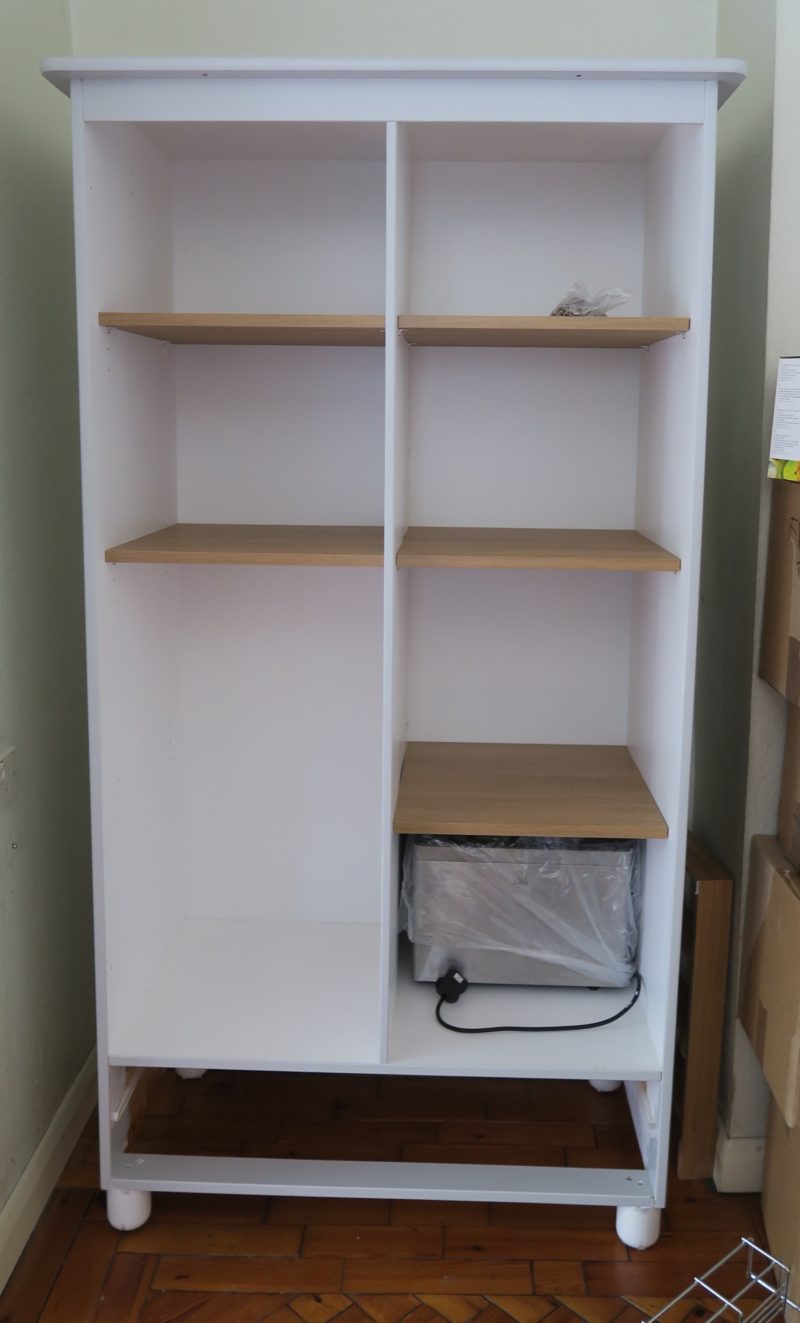
Lastly, I decided I wanted the hardware to match the kitchen pulls instead of using the original wooden pulls. The wooden pulls gave it a bit of a country feel I wanted to avoid. The simple stainless steel replacement knobs give it a vastly more modern feel.
Advertisement
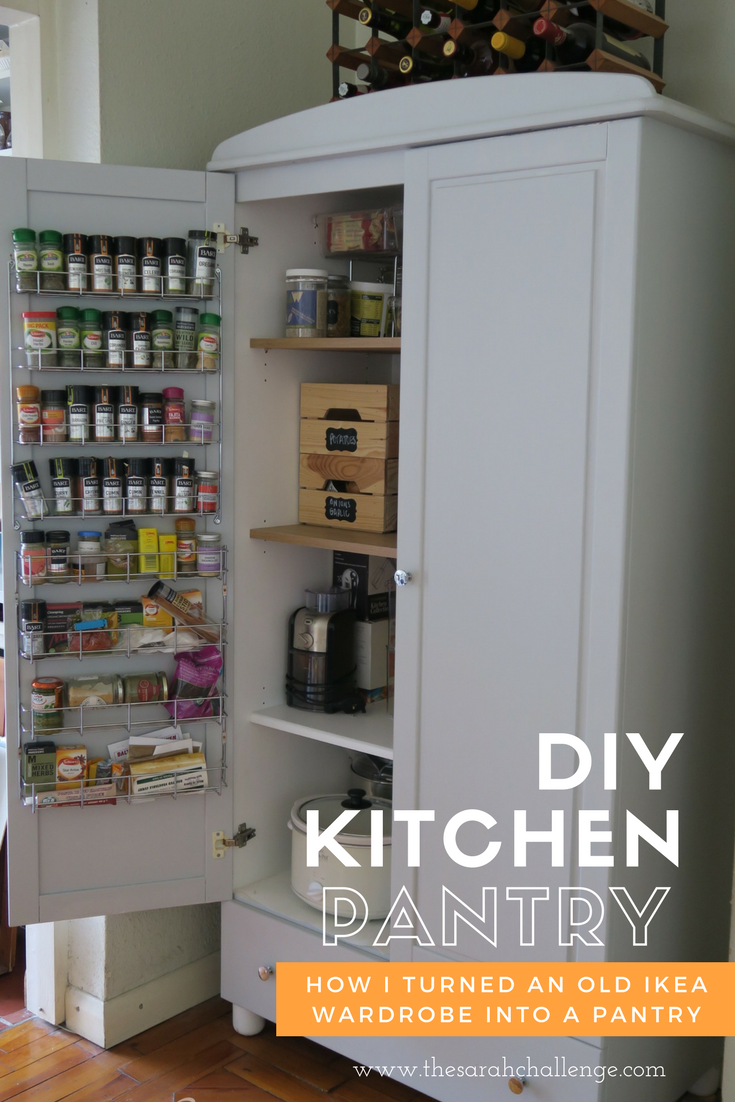
Finished project
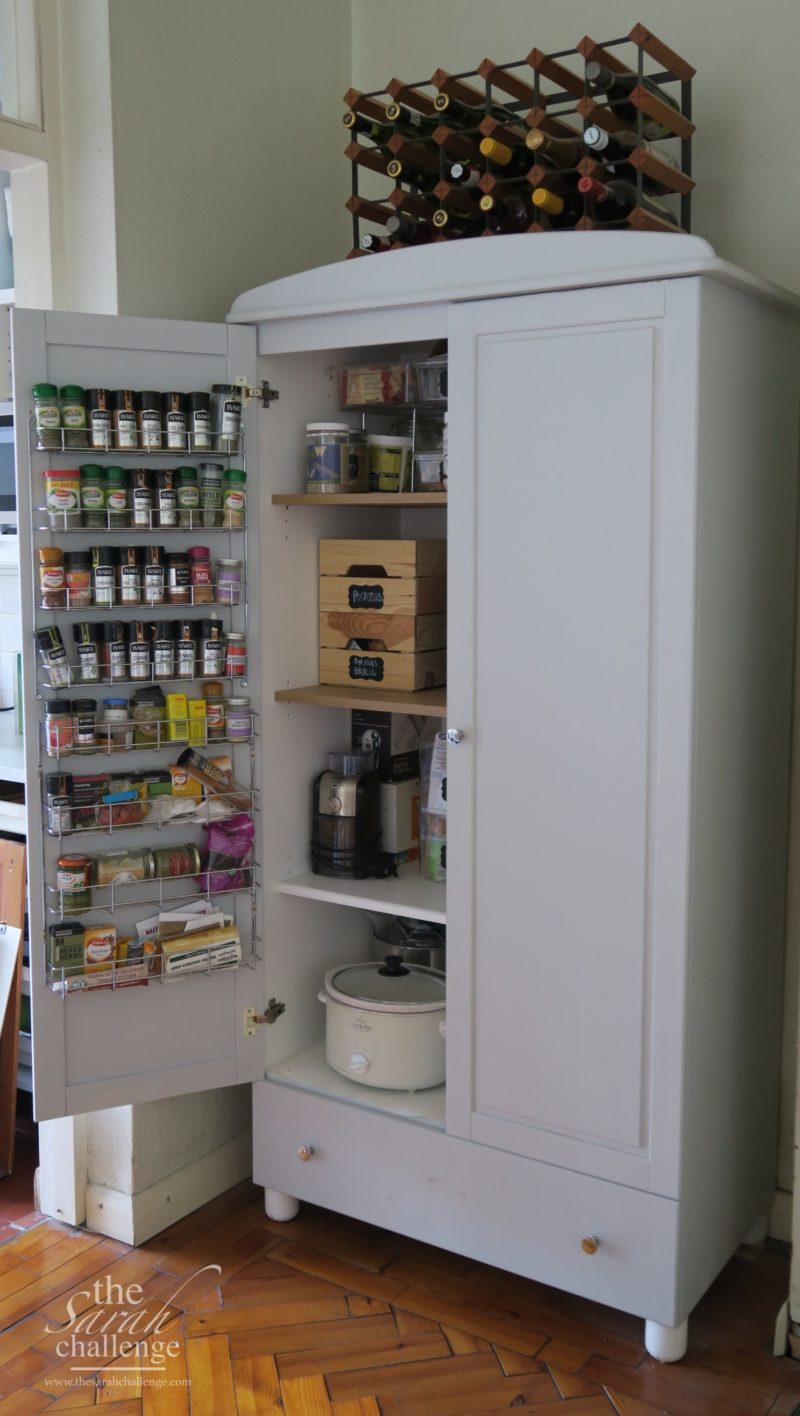
My husband and I are very happy with how this project turned out and it’s exactly what we needed in our kitchen and all on a budget! It only took two weekends of work – two halves of two Saturdays and two trips to the DIY store.
Total Costs for DIY Kitchen Pantry
The cost of paint and the shelves was minimal, which came to £44 (we had a lot of what I needed at hand).
- Paint – £12.50
- Laminate MDF for shelves – £22.50
- New hardboard backing – £10
- Kitchen Pulls/Knobs, spice racks, primer, paint brushes and rollers – £0 (leftover from kitchen project)
What do you think? I think it works well and feel immensely more organised.
Kit your kitchen


I’m a Chicagoan living and working in London who loves running and currently training for my 14th marathon. I’m a keen bargain hunter, slow-cooker enthusiast, and DIYer who blogs about the meeting the challenges I set for myself.
