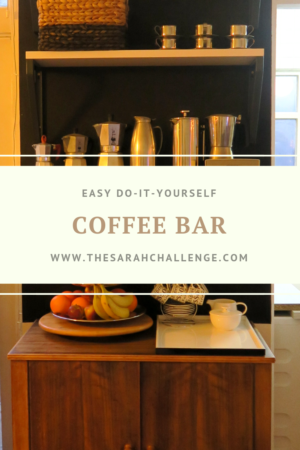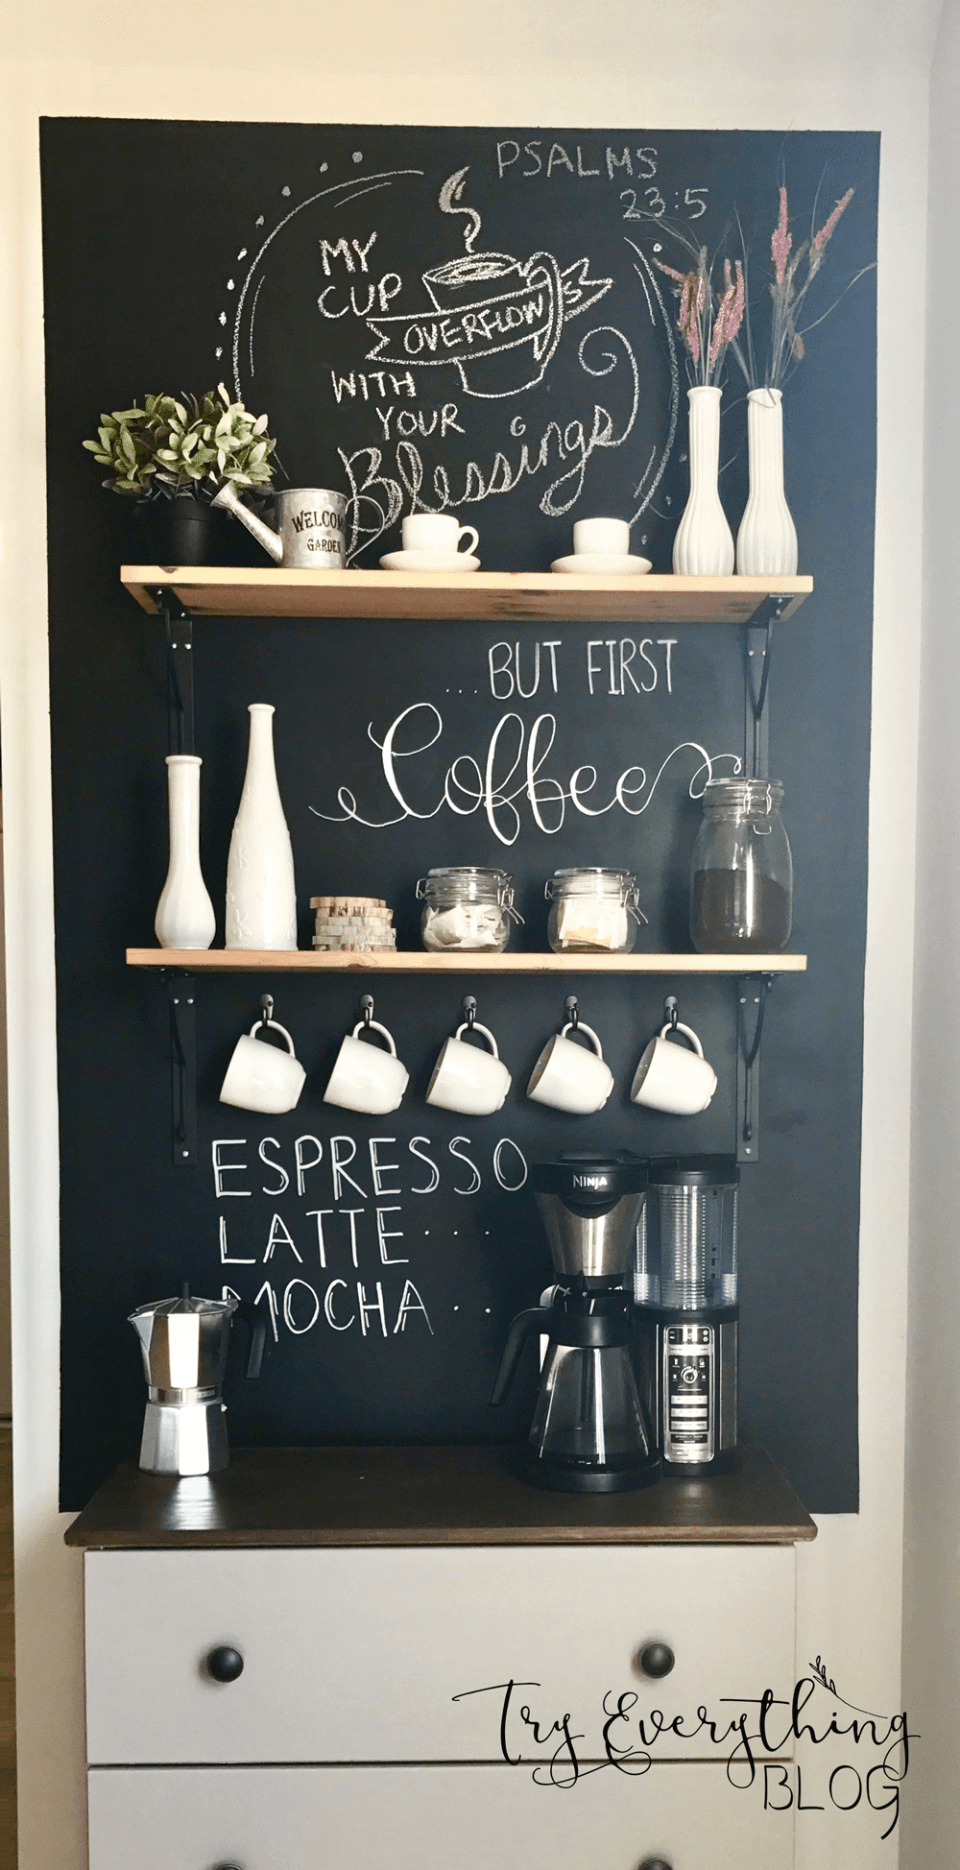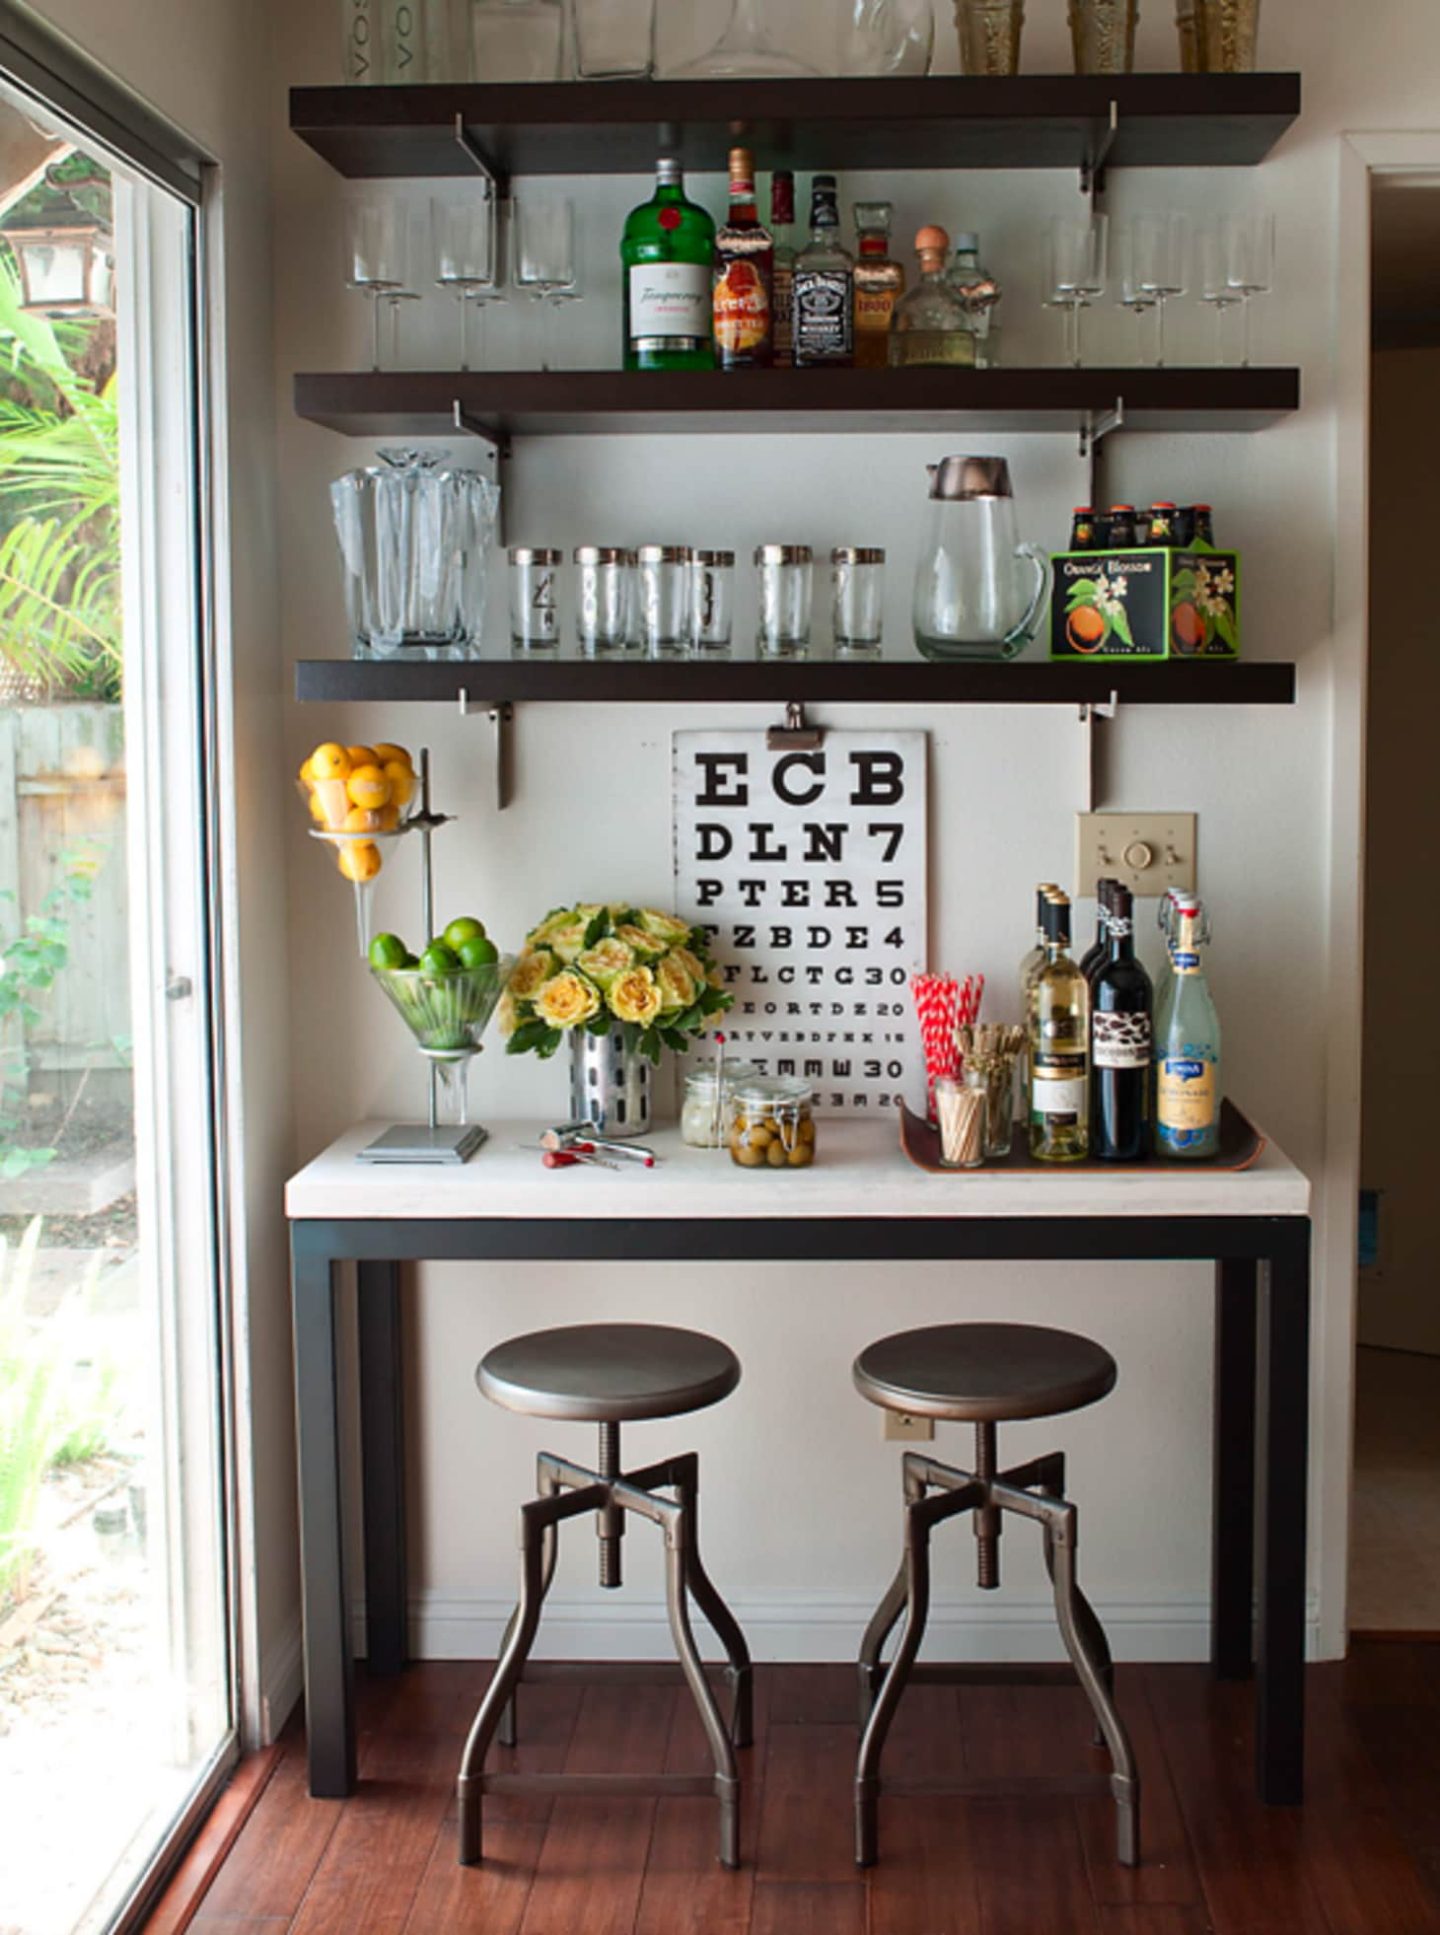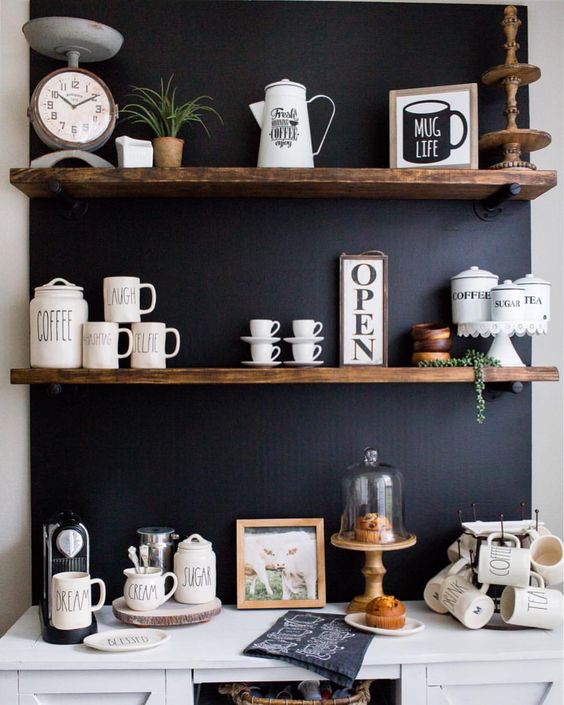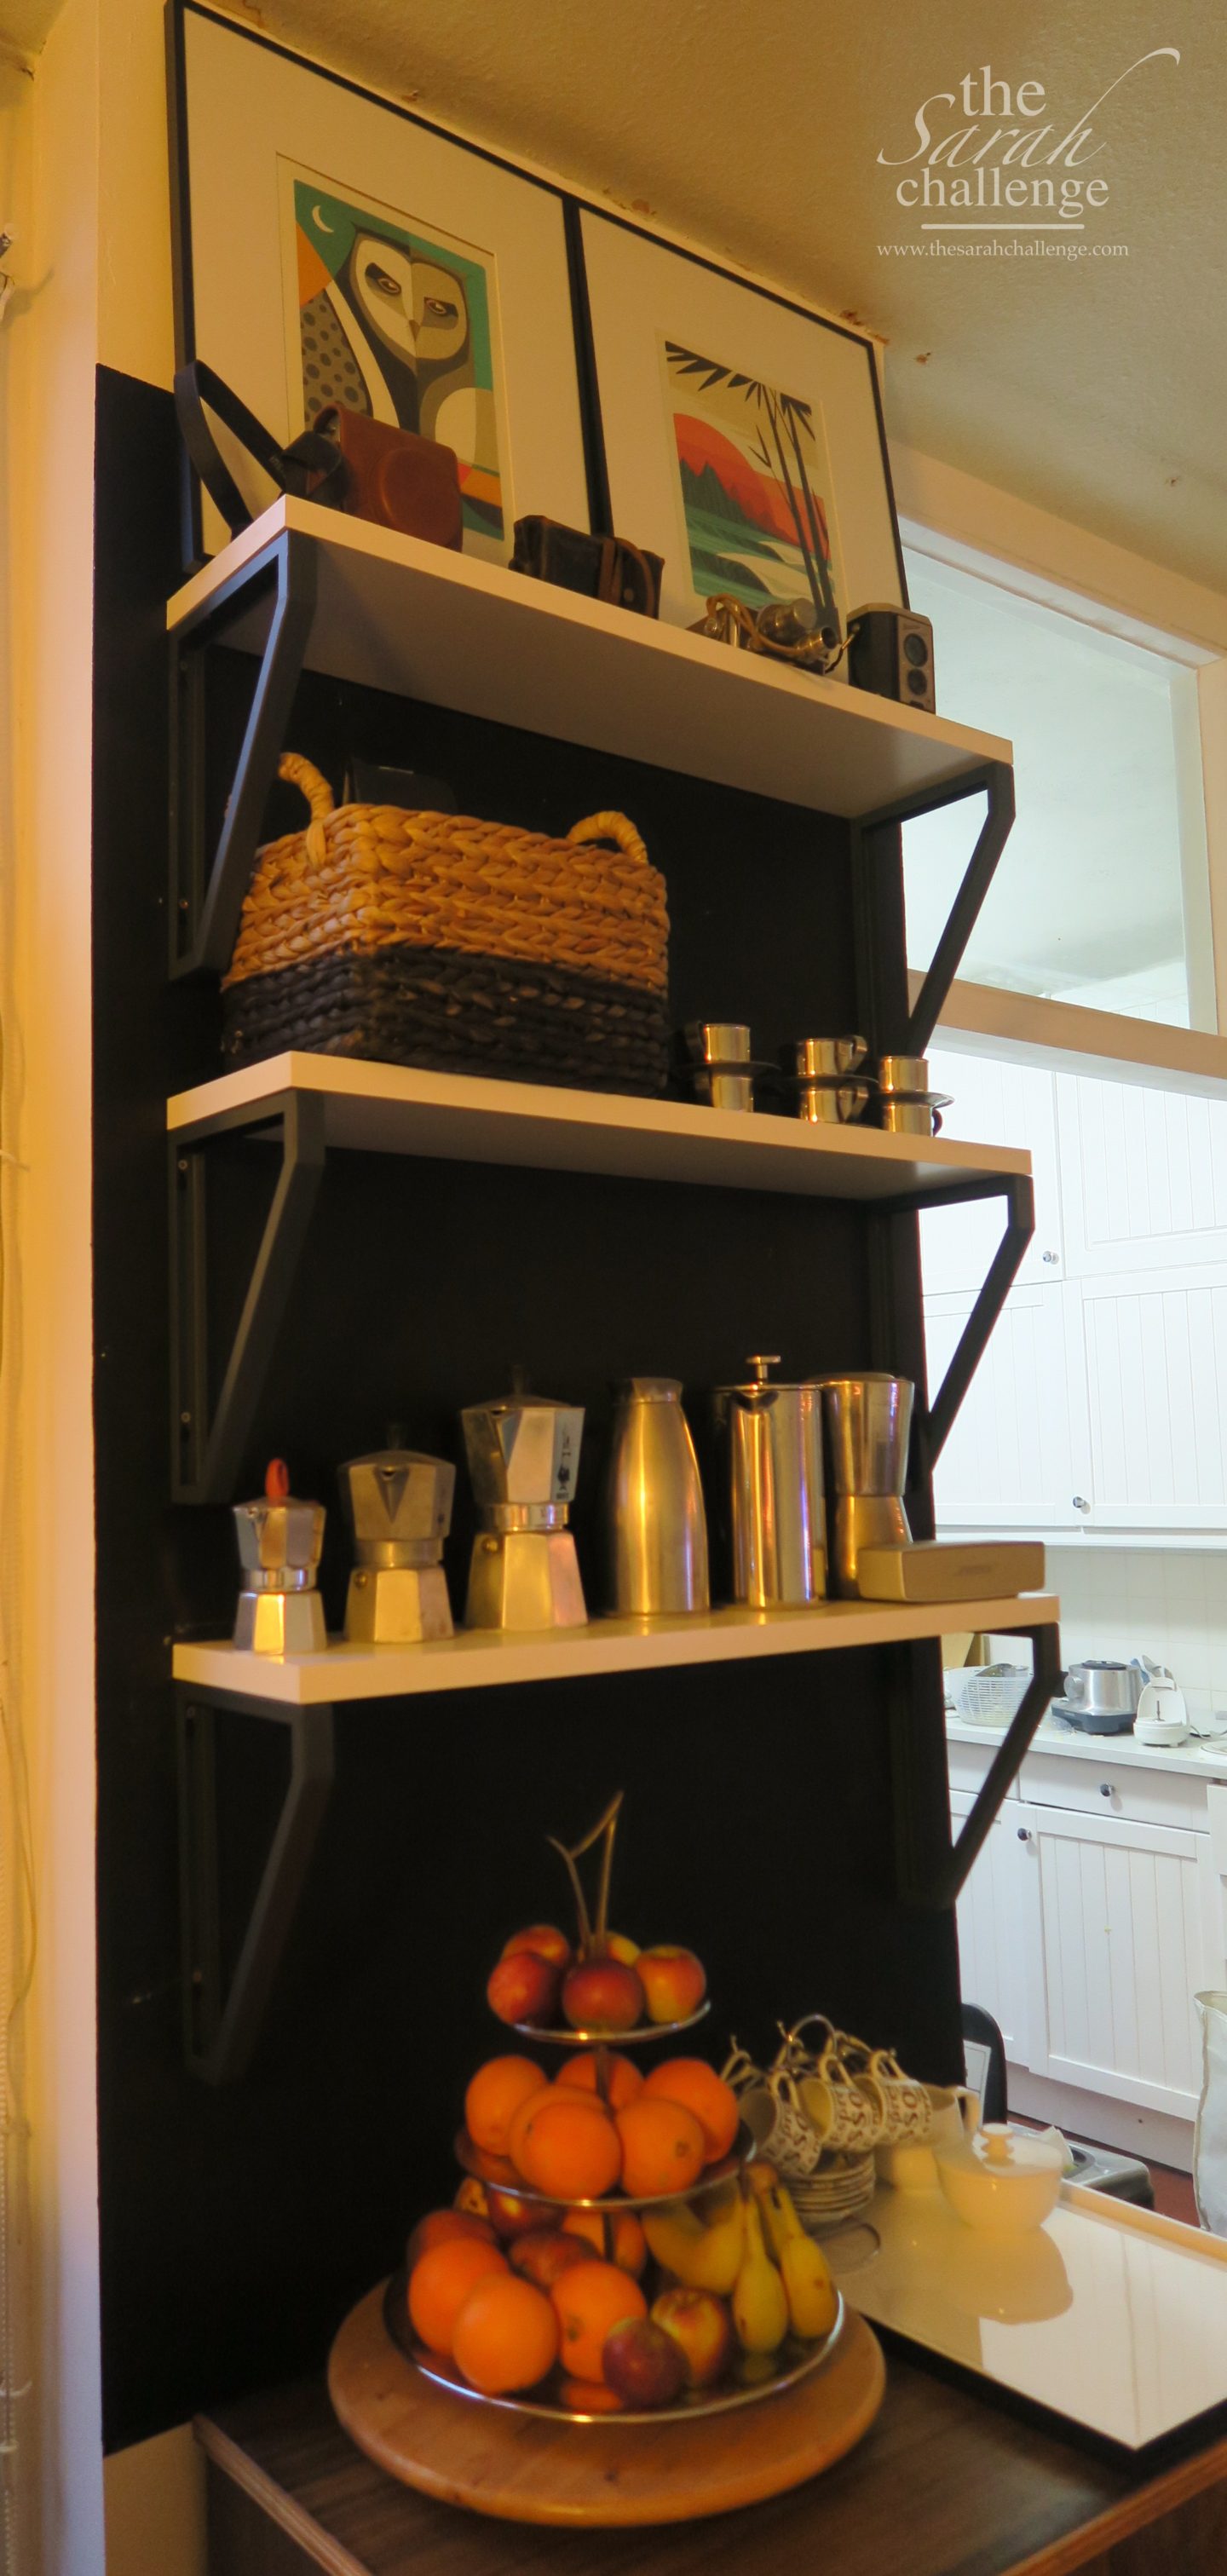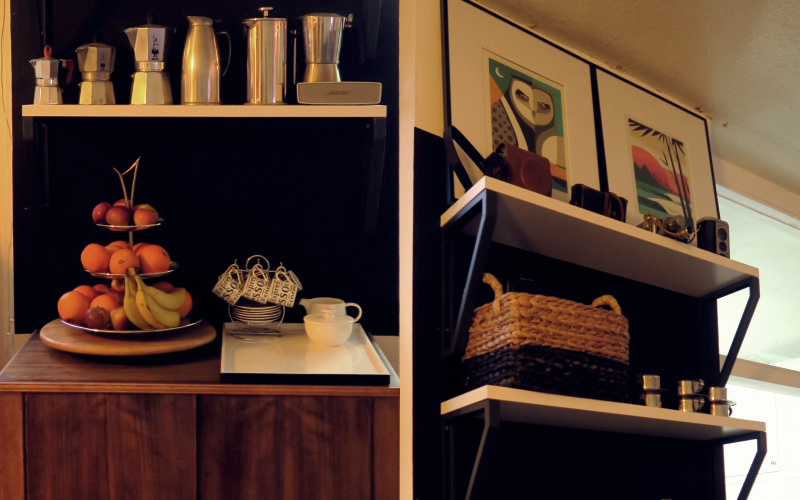
I took a look at a lonely wall between the kitchen and the back door and had an idea. As part of my DIY kitchen renovation (which is almost completed!), I thought this wall needed a bit of attention.
As I mentioned in the How I turned an IKEA wardrobe into a kitchen pantry, our house, when we bought it over a year ago, was stuck in a time capsule; every surface of the house, including the ceiling – yes, even the ceiling – is covered in wood chip wallpaper.
If you aren’t quite sure what wood chip wallpaper is, then count your lucky stars. In brief summary, it’s a 1960s home fad started by Satan himself (after karaoke bars but before stores that put price stickers on the inside sole of shoes).
Functional space
So, going back to this lonely wall, covered in wood chip wallpaper, with no pictures or purpose, we had a short set of drawers.
It worked for storage, but the top of the drawers ended up being a dumping ground for life. Bills? Magazines? All ended up there. Things that just delivered? Things to do? It became unmanageable and a bit of a clutter collector.
However, you know what would go well there? A coffee bar. No, wait, a cocktail bar.
Okay, a compromise: so how about an adult stimulant and depressant bar?
An adult drink station, if you will.
Perfect.
Inspirations
Photos & sources
1 Try Everything
2 The Kitchn
3 @southernhomeanddesigns
Tools & supplies
- Paint and roller
- Blackboard paint
- White emulsion paint
- Paint tape
- Drop cloths
- Scraper
- Wallpaper steamer
- Platform step ladder
Advertisement
Best laid plans
I had a plan.
I was going to paint over the wood chip wallpaper in blackboard paint to give it a bit of a freshening up and move our. It was Sunday, I had so much to do in advance of a family dinner planned next weekend.
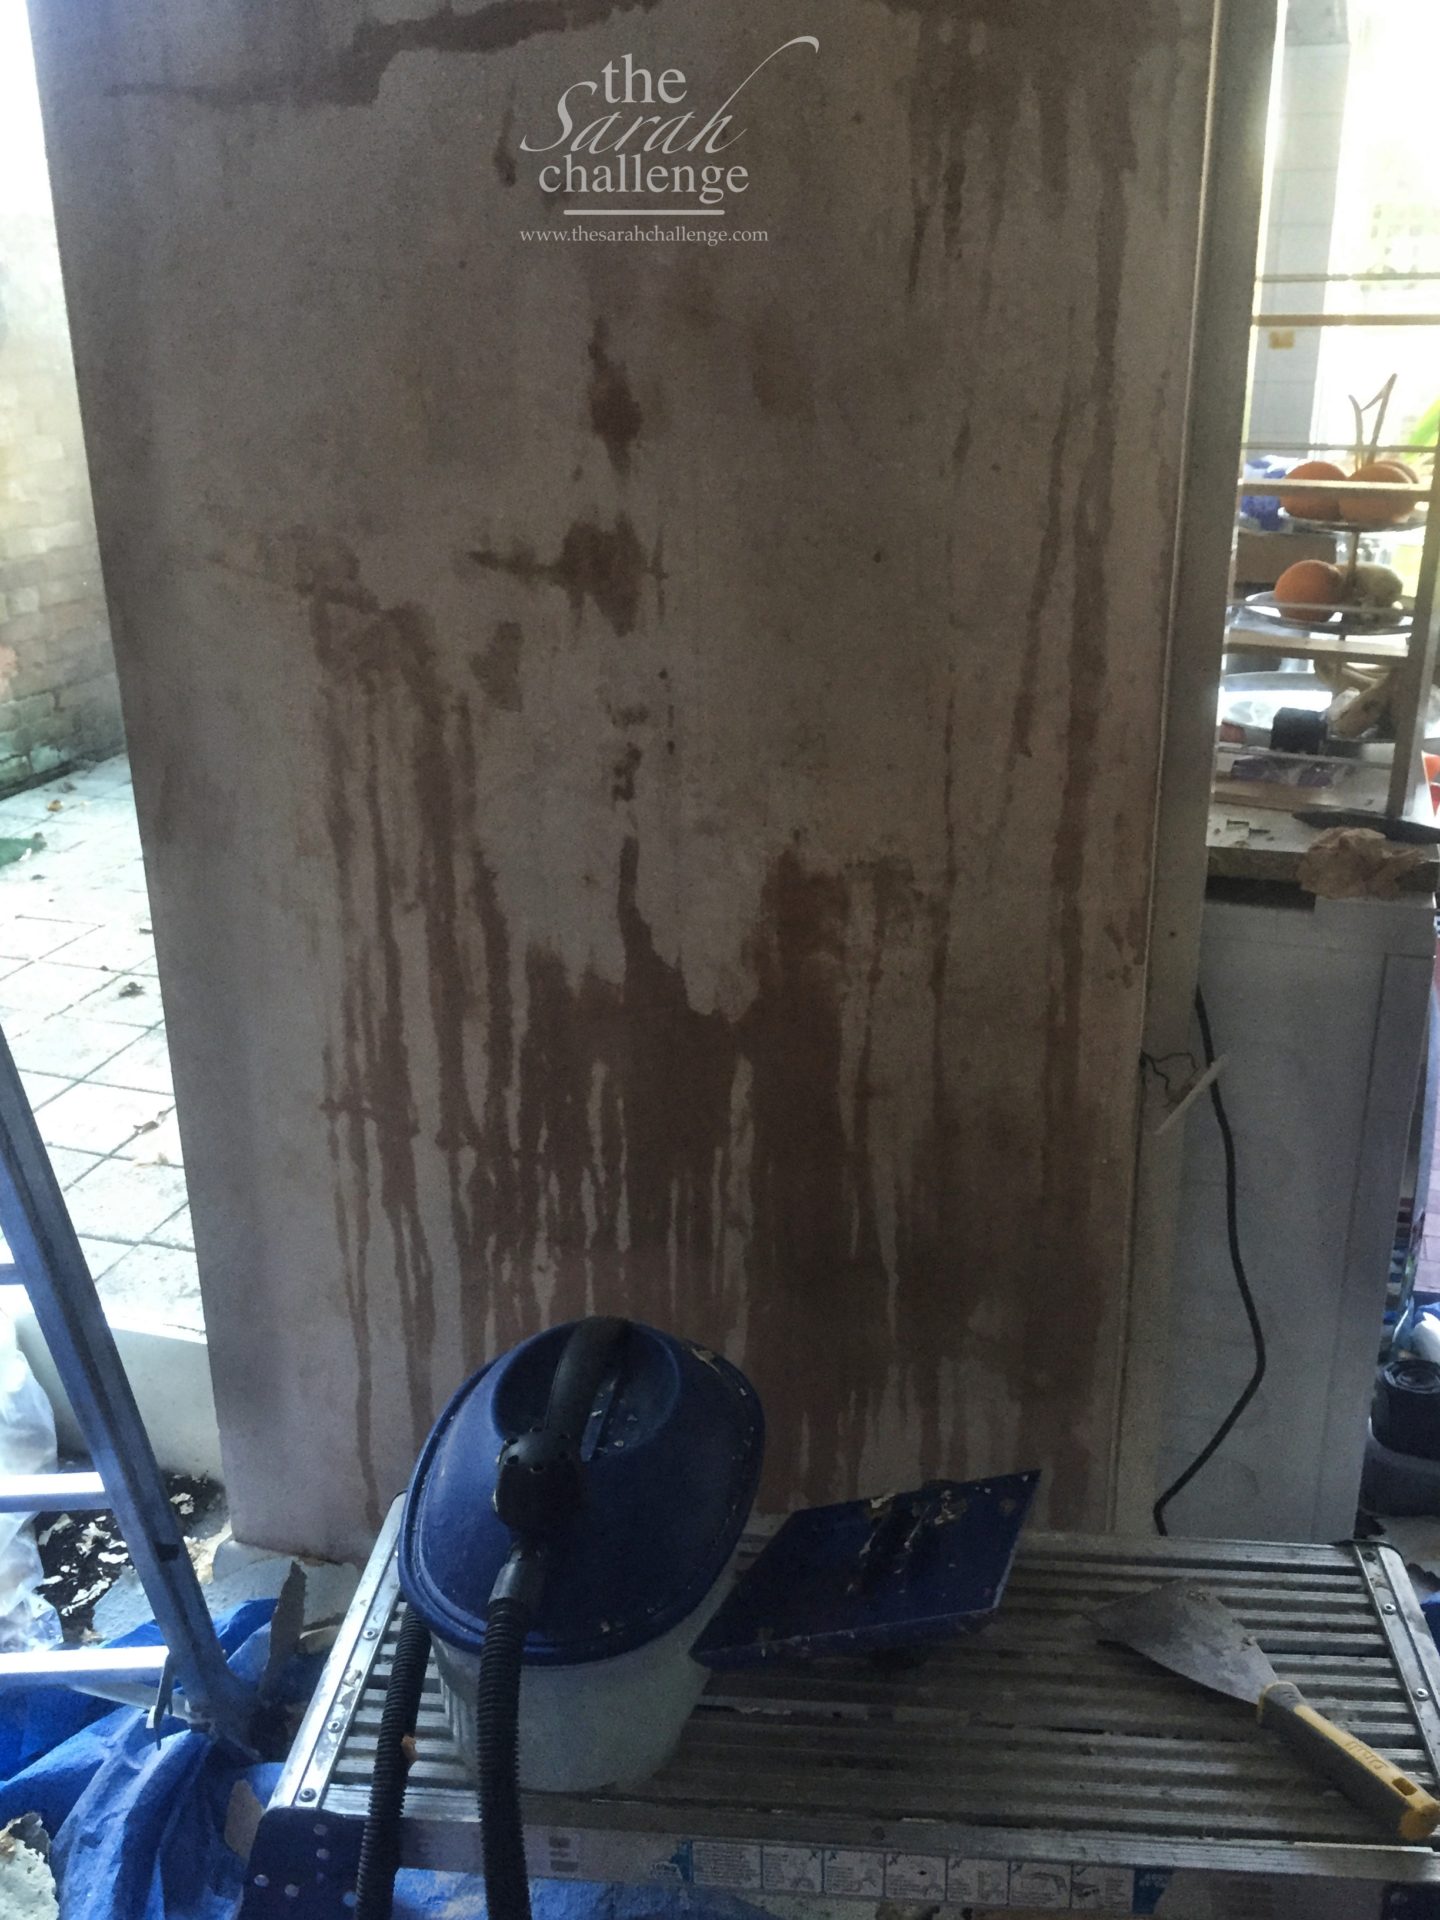
So, usually, removing wood chip wallpaper can be akin to pulling teeth – every square inch of removal has to be hard fought. However, around the doorframe, there was a bit of loose wallpaper where the glue seemed to have been demanded. I thought, simply, that I could scrape a bit of the loose paper off to make it easier to paint. The glue would stop me.
Except it didn’t.
Before I knew it, half the wall came off from one light scrape and there was no turning back.
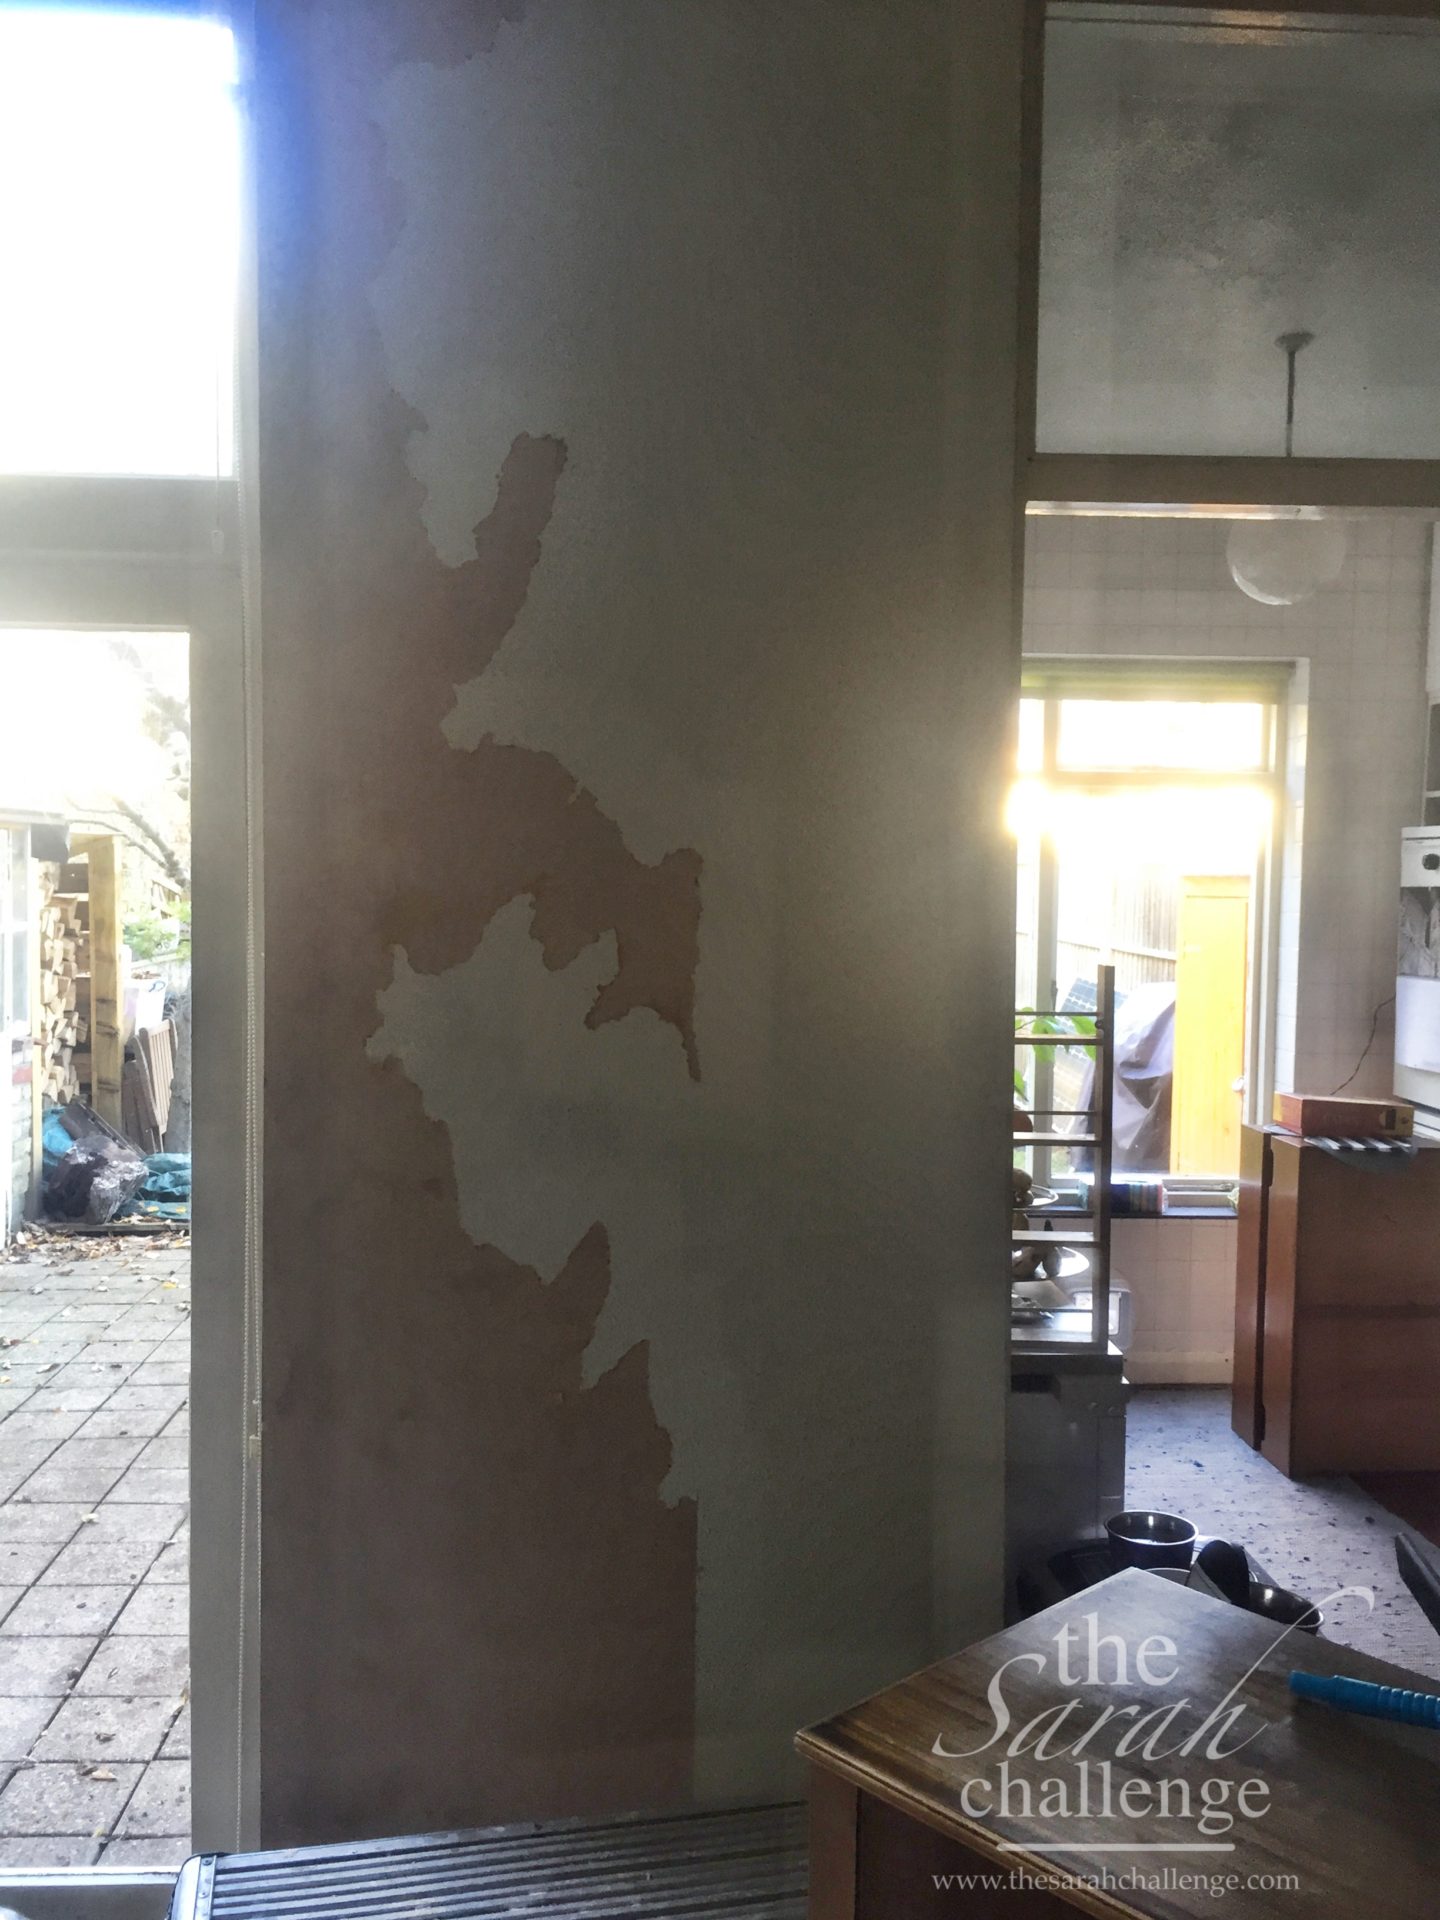
Just loosen a bit of wallpaper… 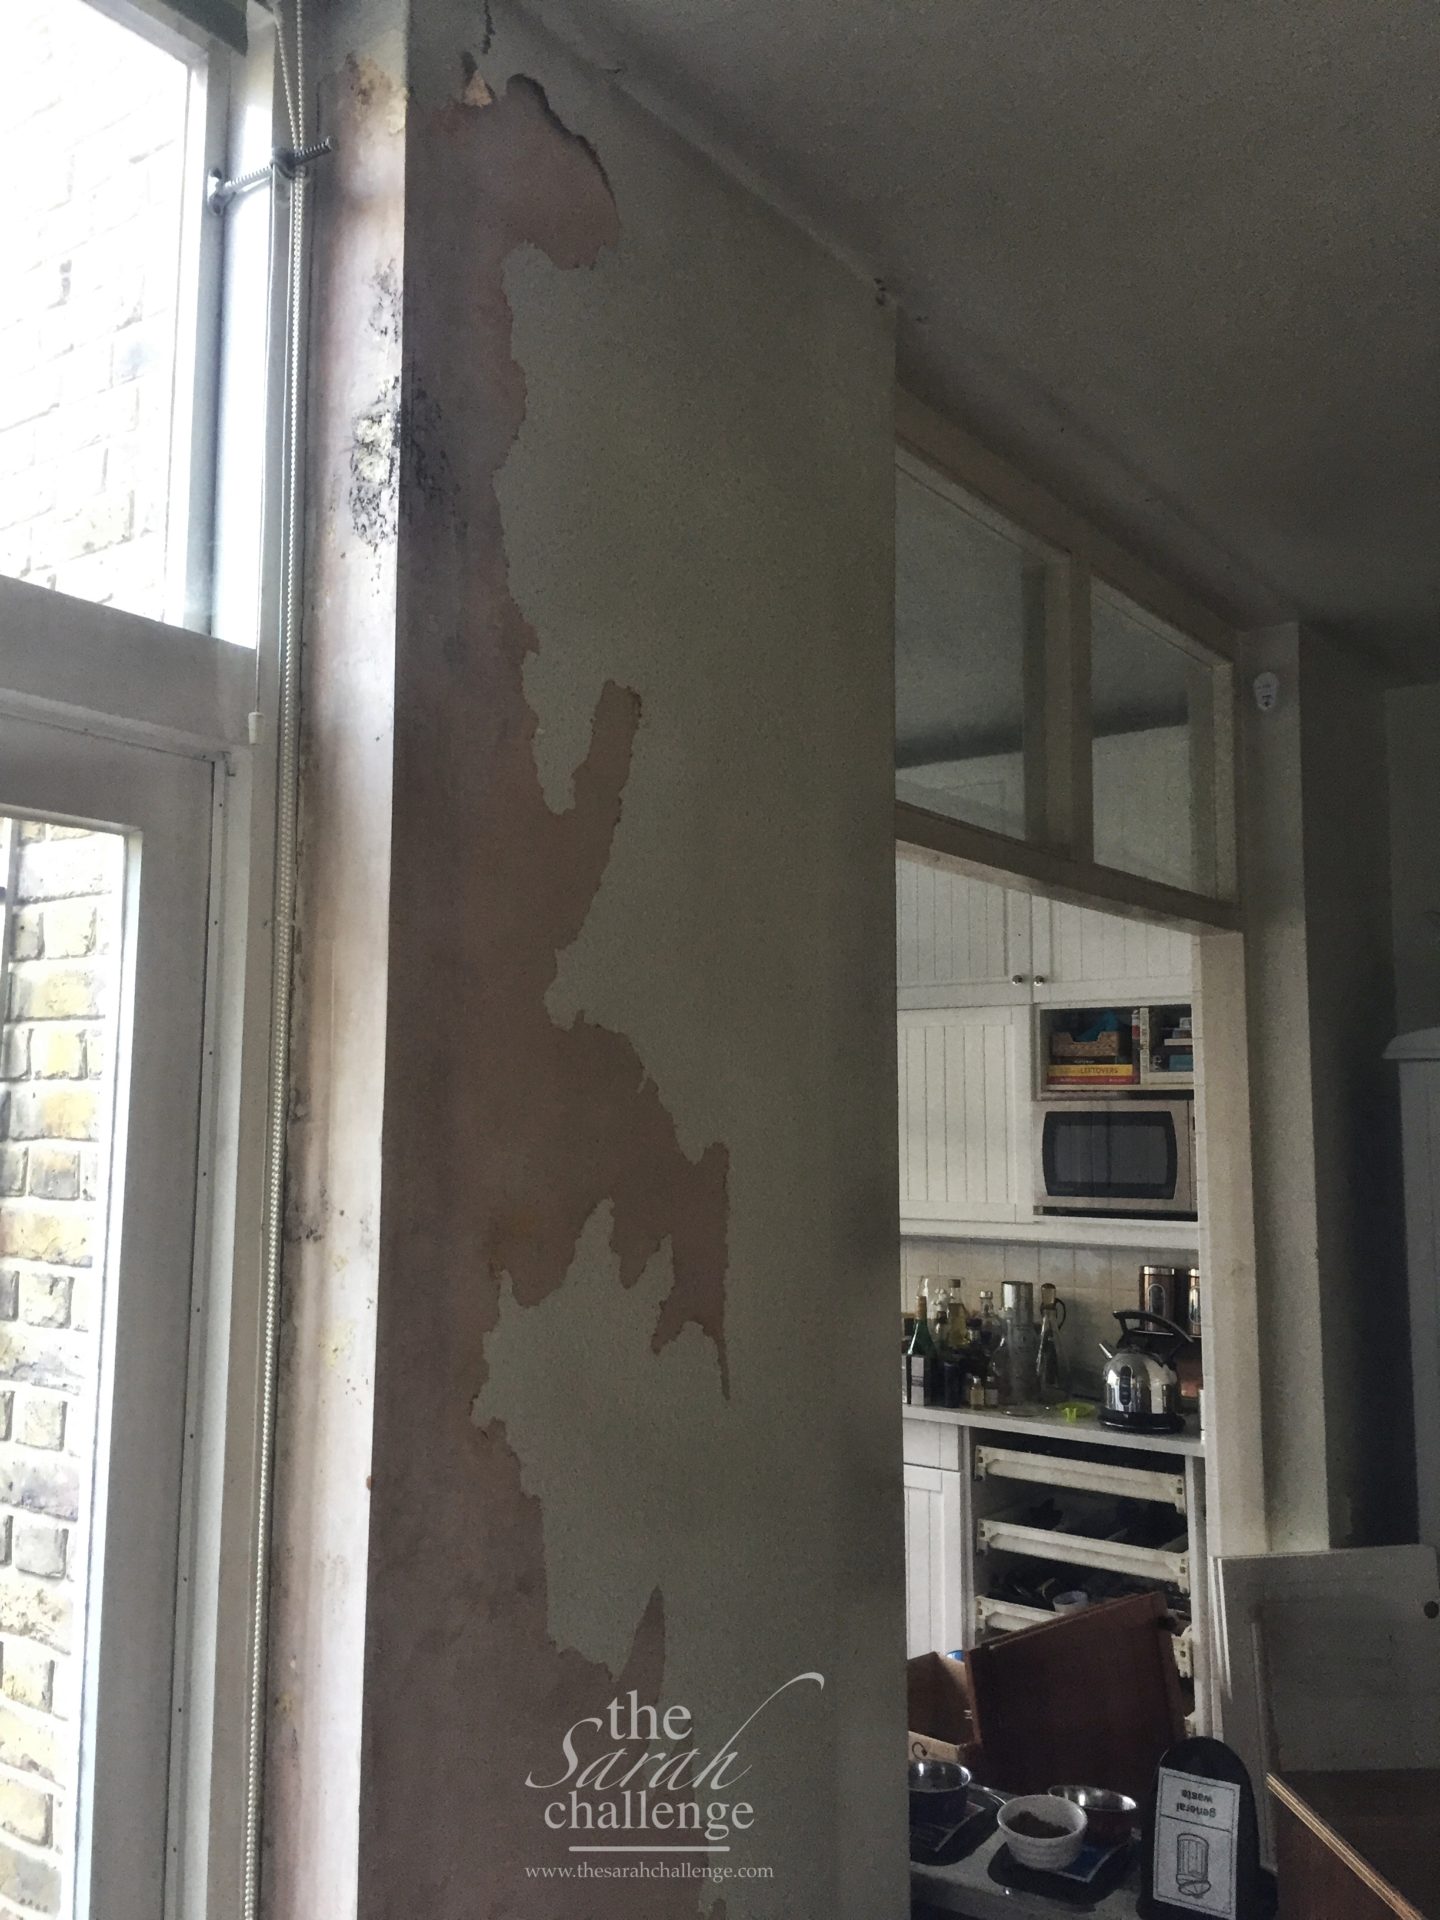
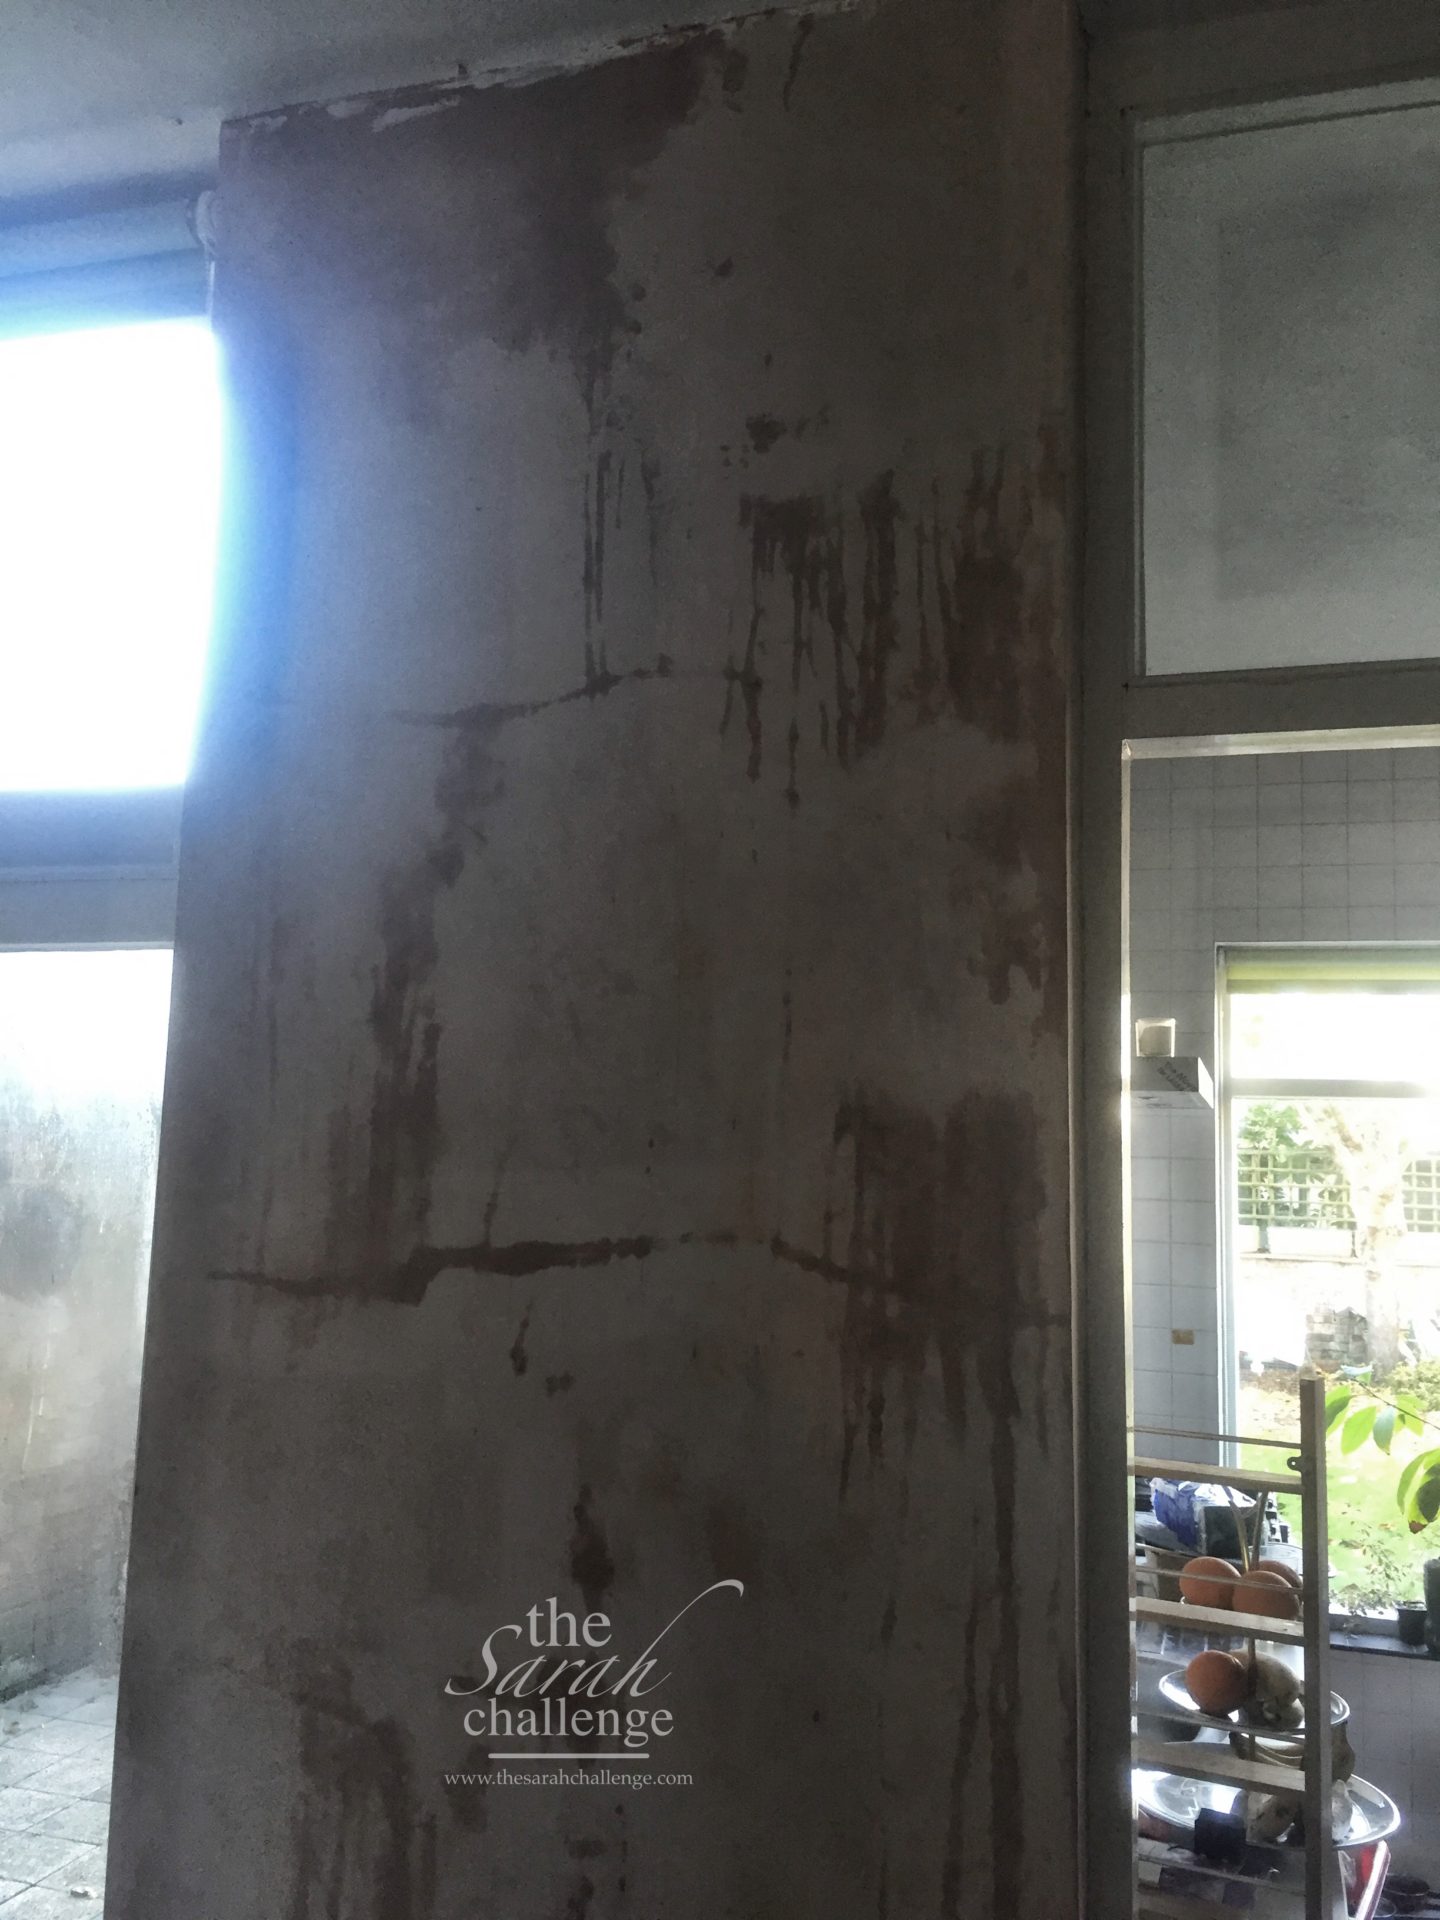
Another angle…and mould
My theory is the cold from around the door frame froze the glue over the years. It was clear some moisture worked its way under the paper as there were a few black spots – it looked like mould. (Another reason why the wallpaper may no longer stick.)
I sprayed these spots lightly with bleach mixed with water and scrubbed it off with a dish sponge. It was gone immediately. For good measure, the next day, I sprayed the two areas one more time to be sure.
Wallpaper removal
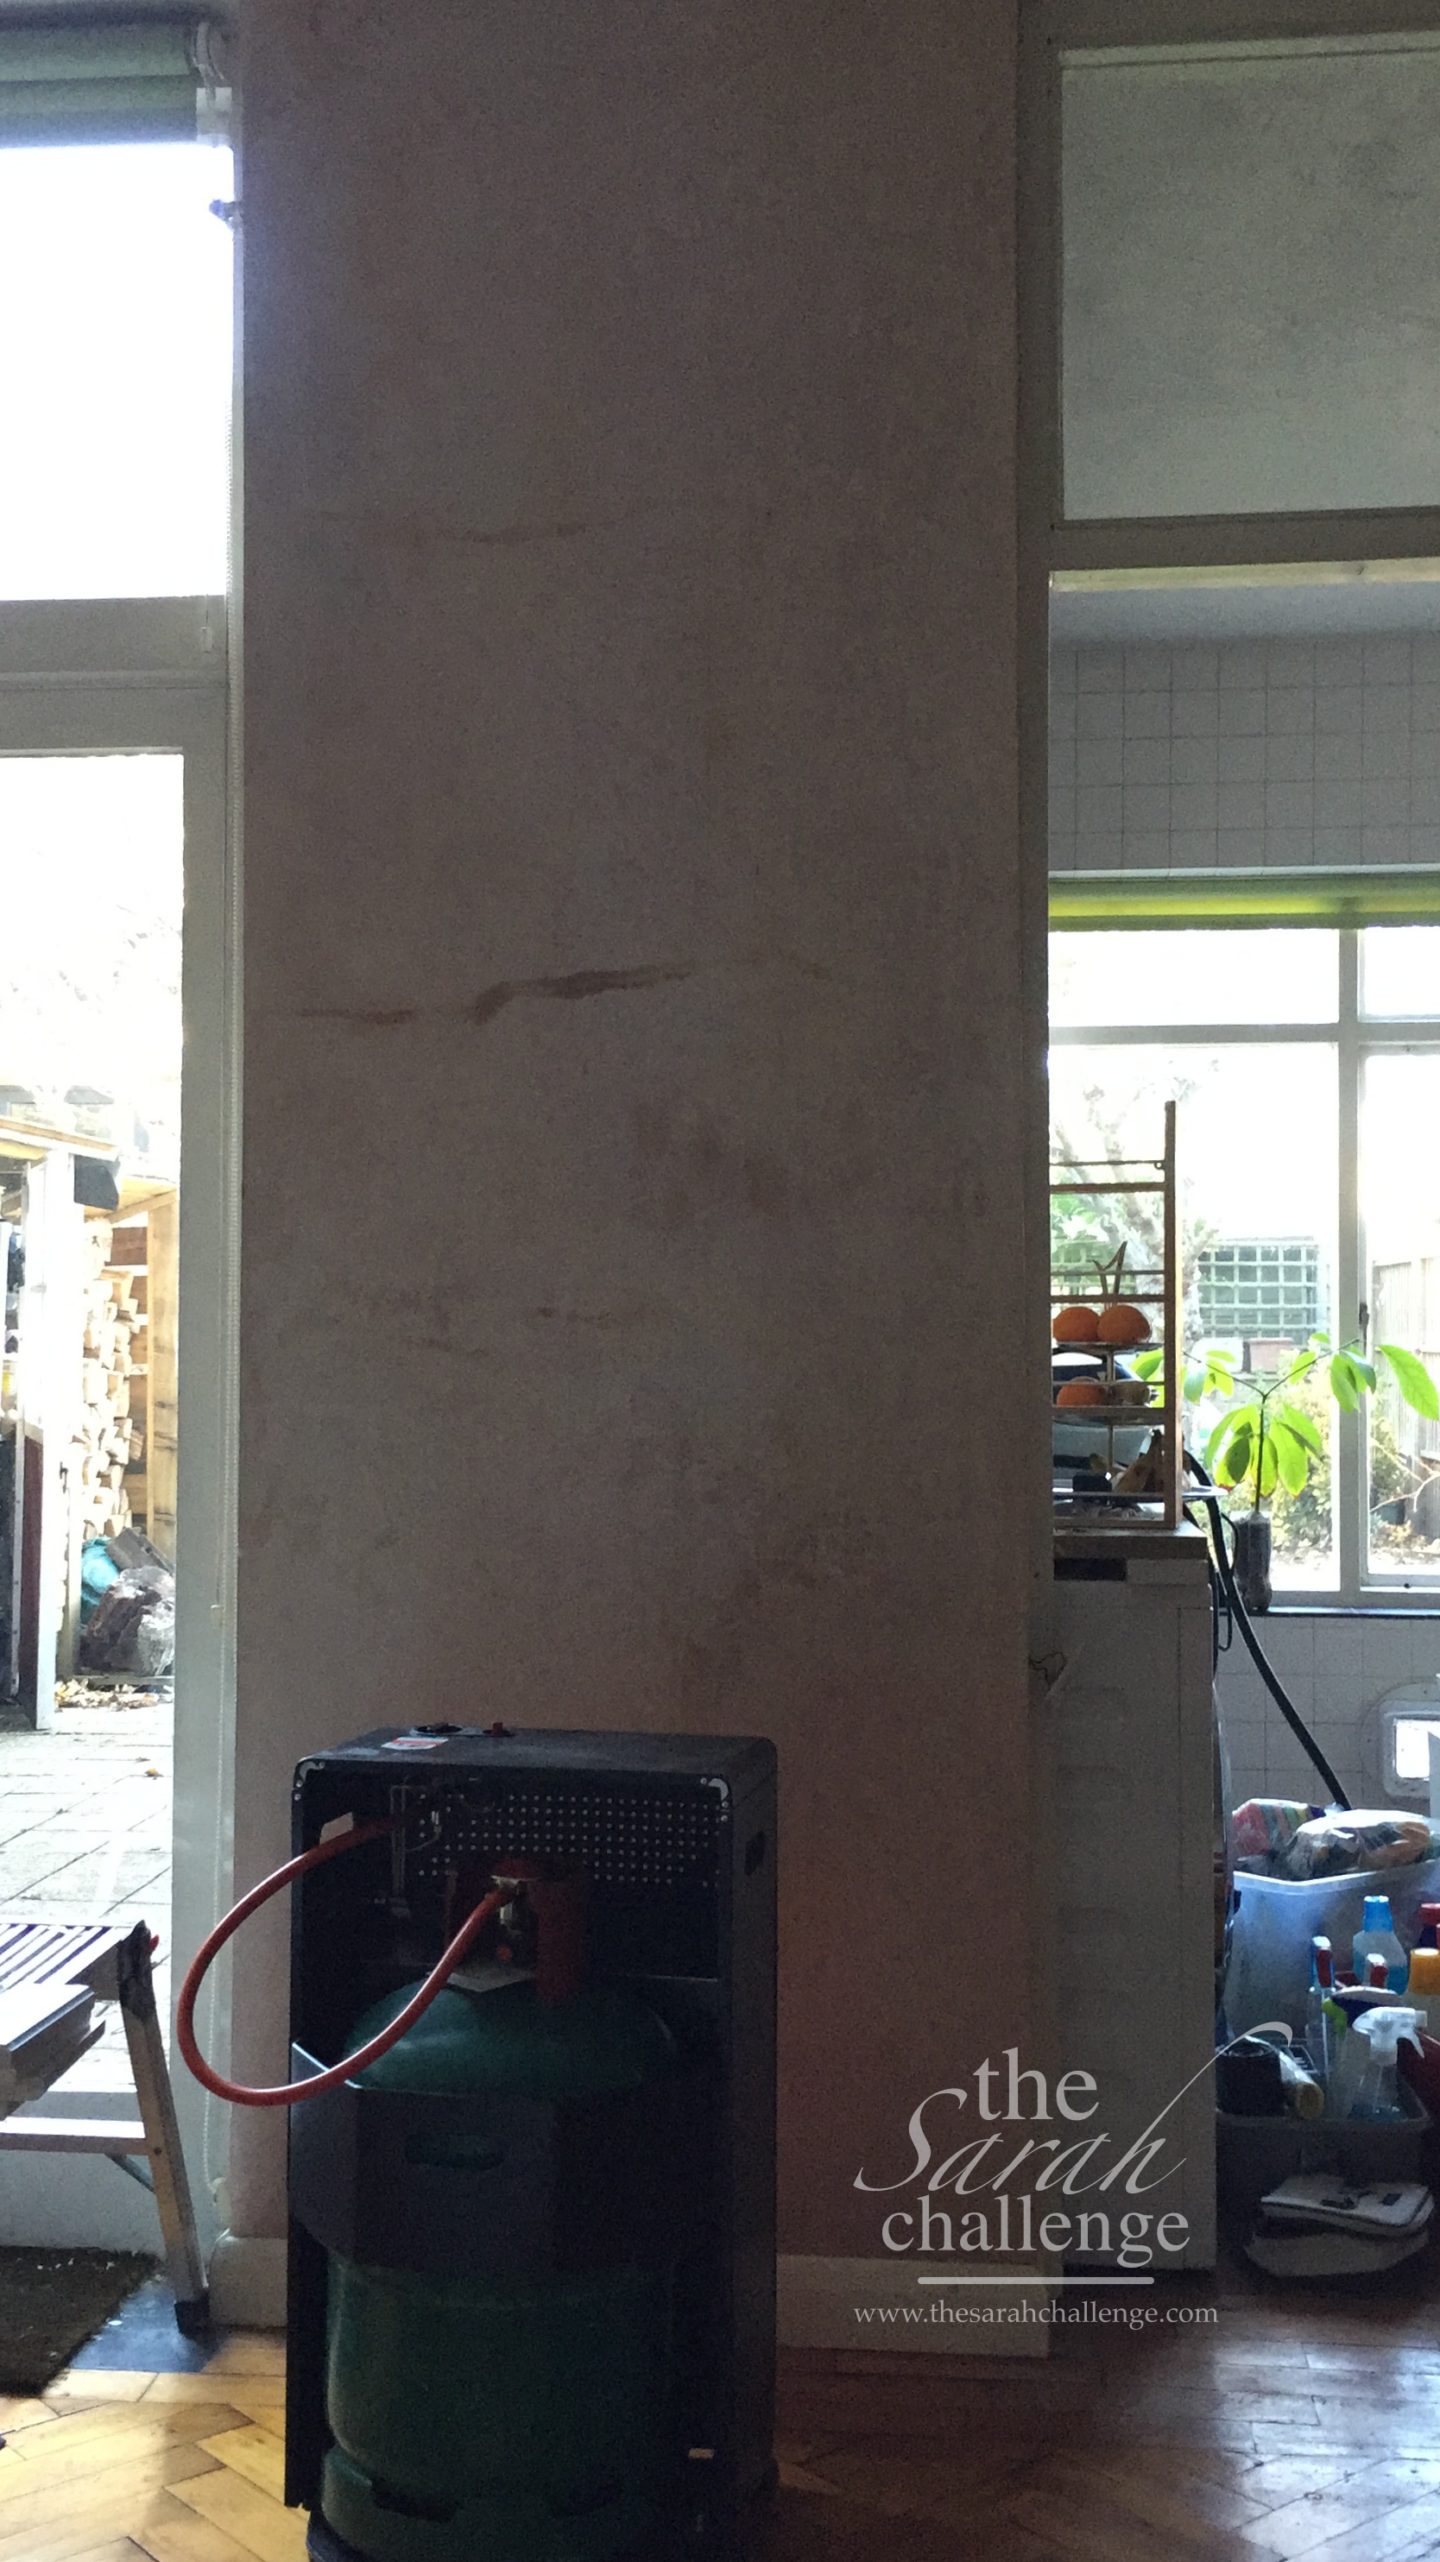
This meant an unplanned wallpaper removal. Yes, my husband is still laughing at me. And surprisingly, I was able to remove the wallpaper with minimal, if any, damage to the plaster.
Painting
Before I started painting, I made sure the plaster was dry from the wallpaper steamer.
Painting went quickly as I taped off the ceiling and around the baseboards. Three coats of nice white paint we had leftover paint acted as a primer and final coat – and the difference was magical. It’s amazing how fresh a wall can seem after a simple fresh coat of paint.
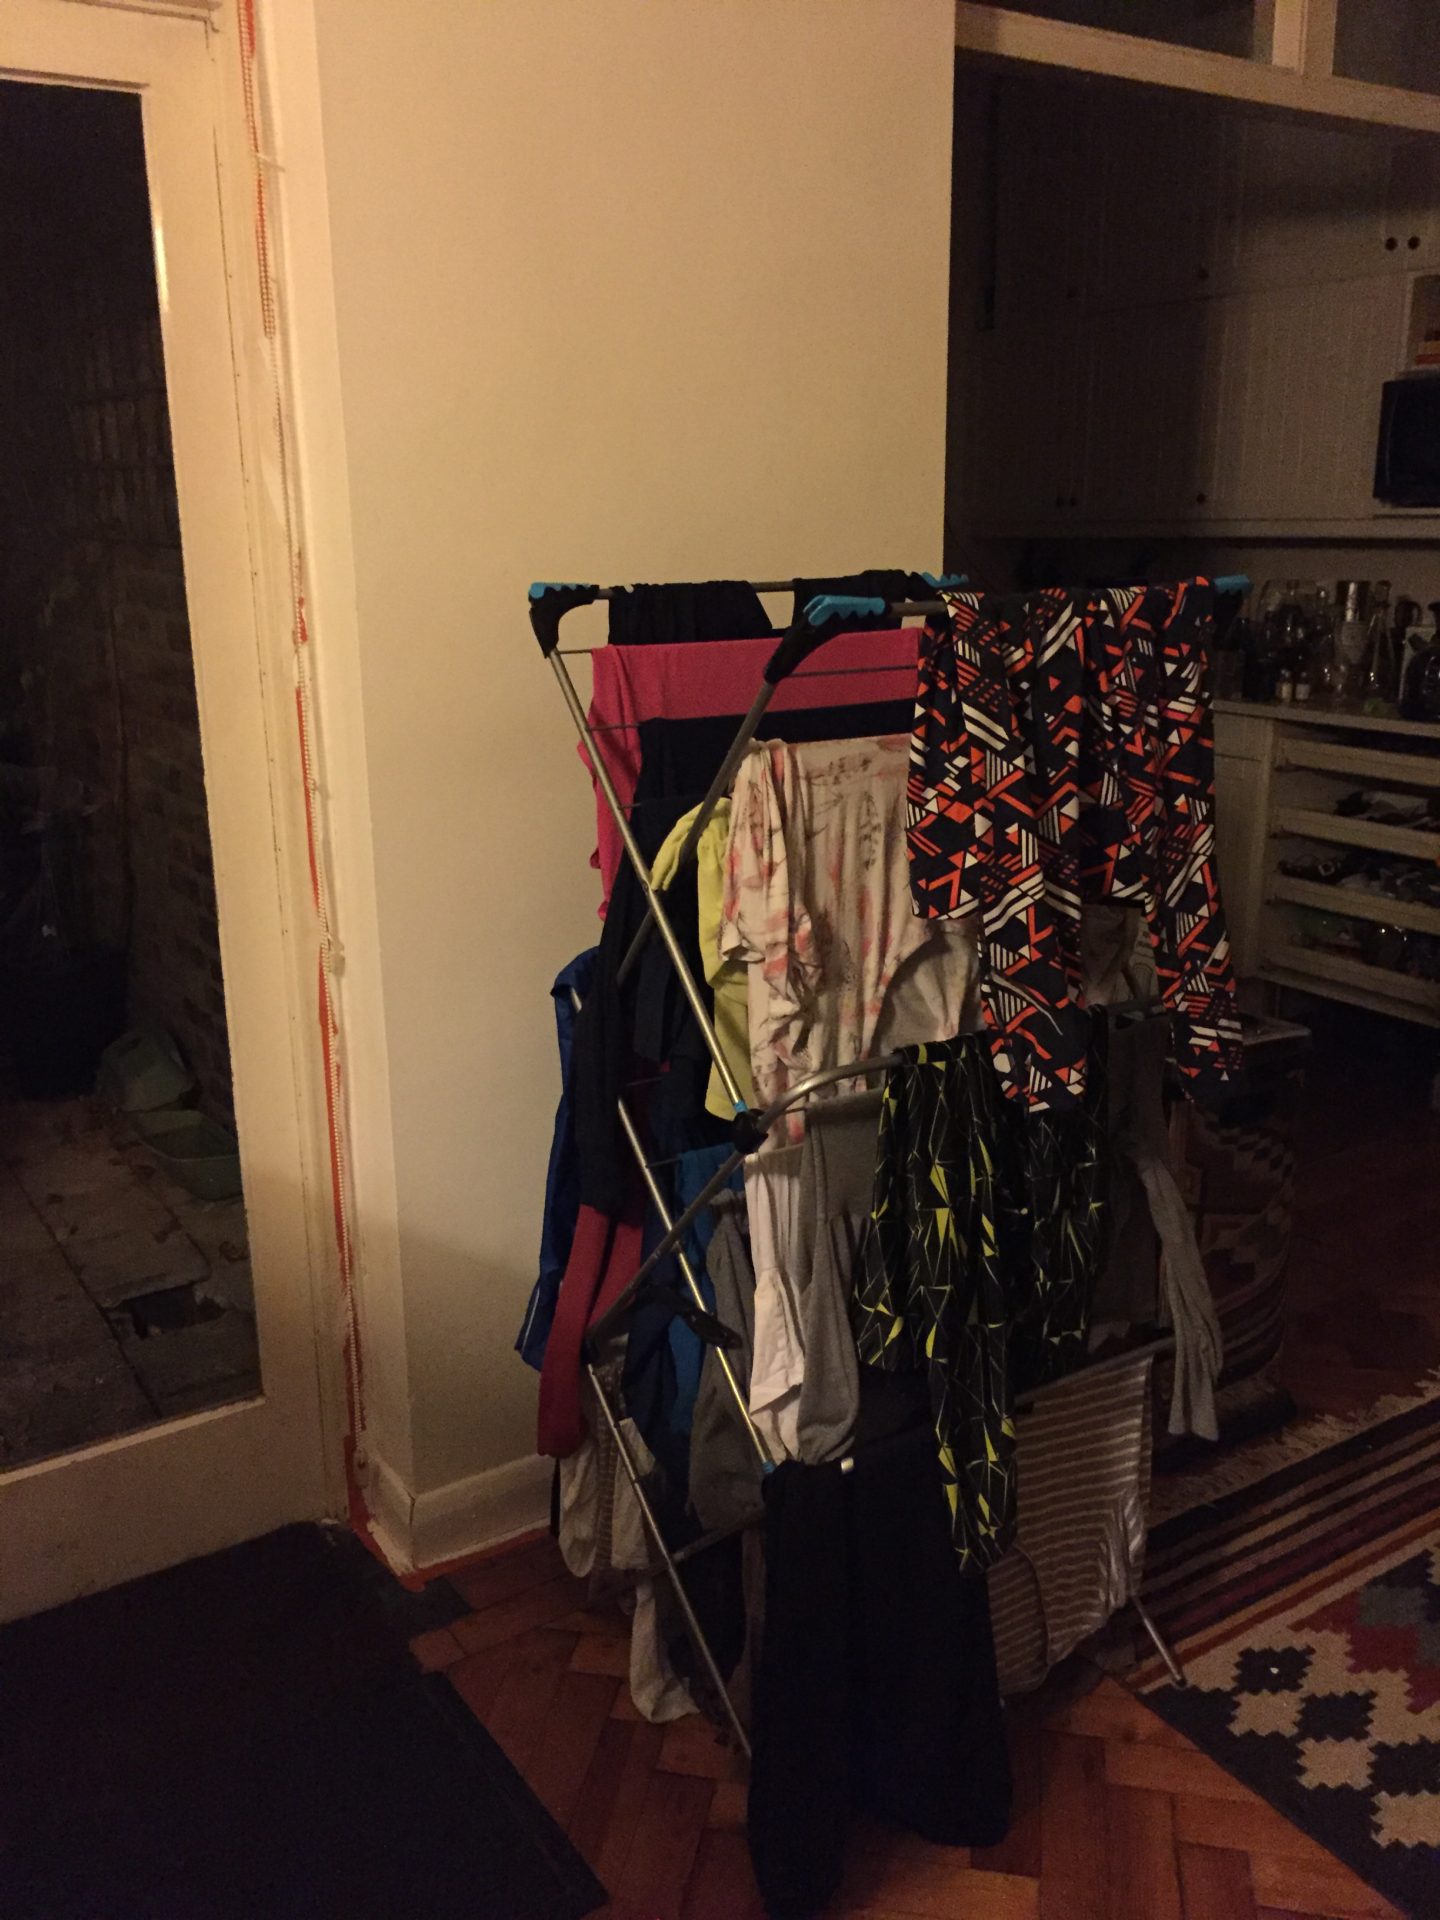
Brightened wall..and unfortunately, laundry 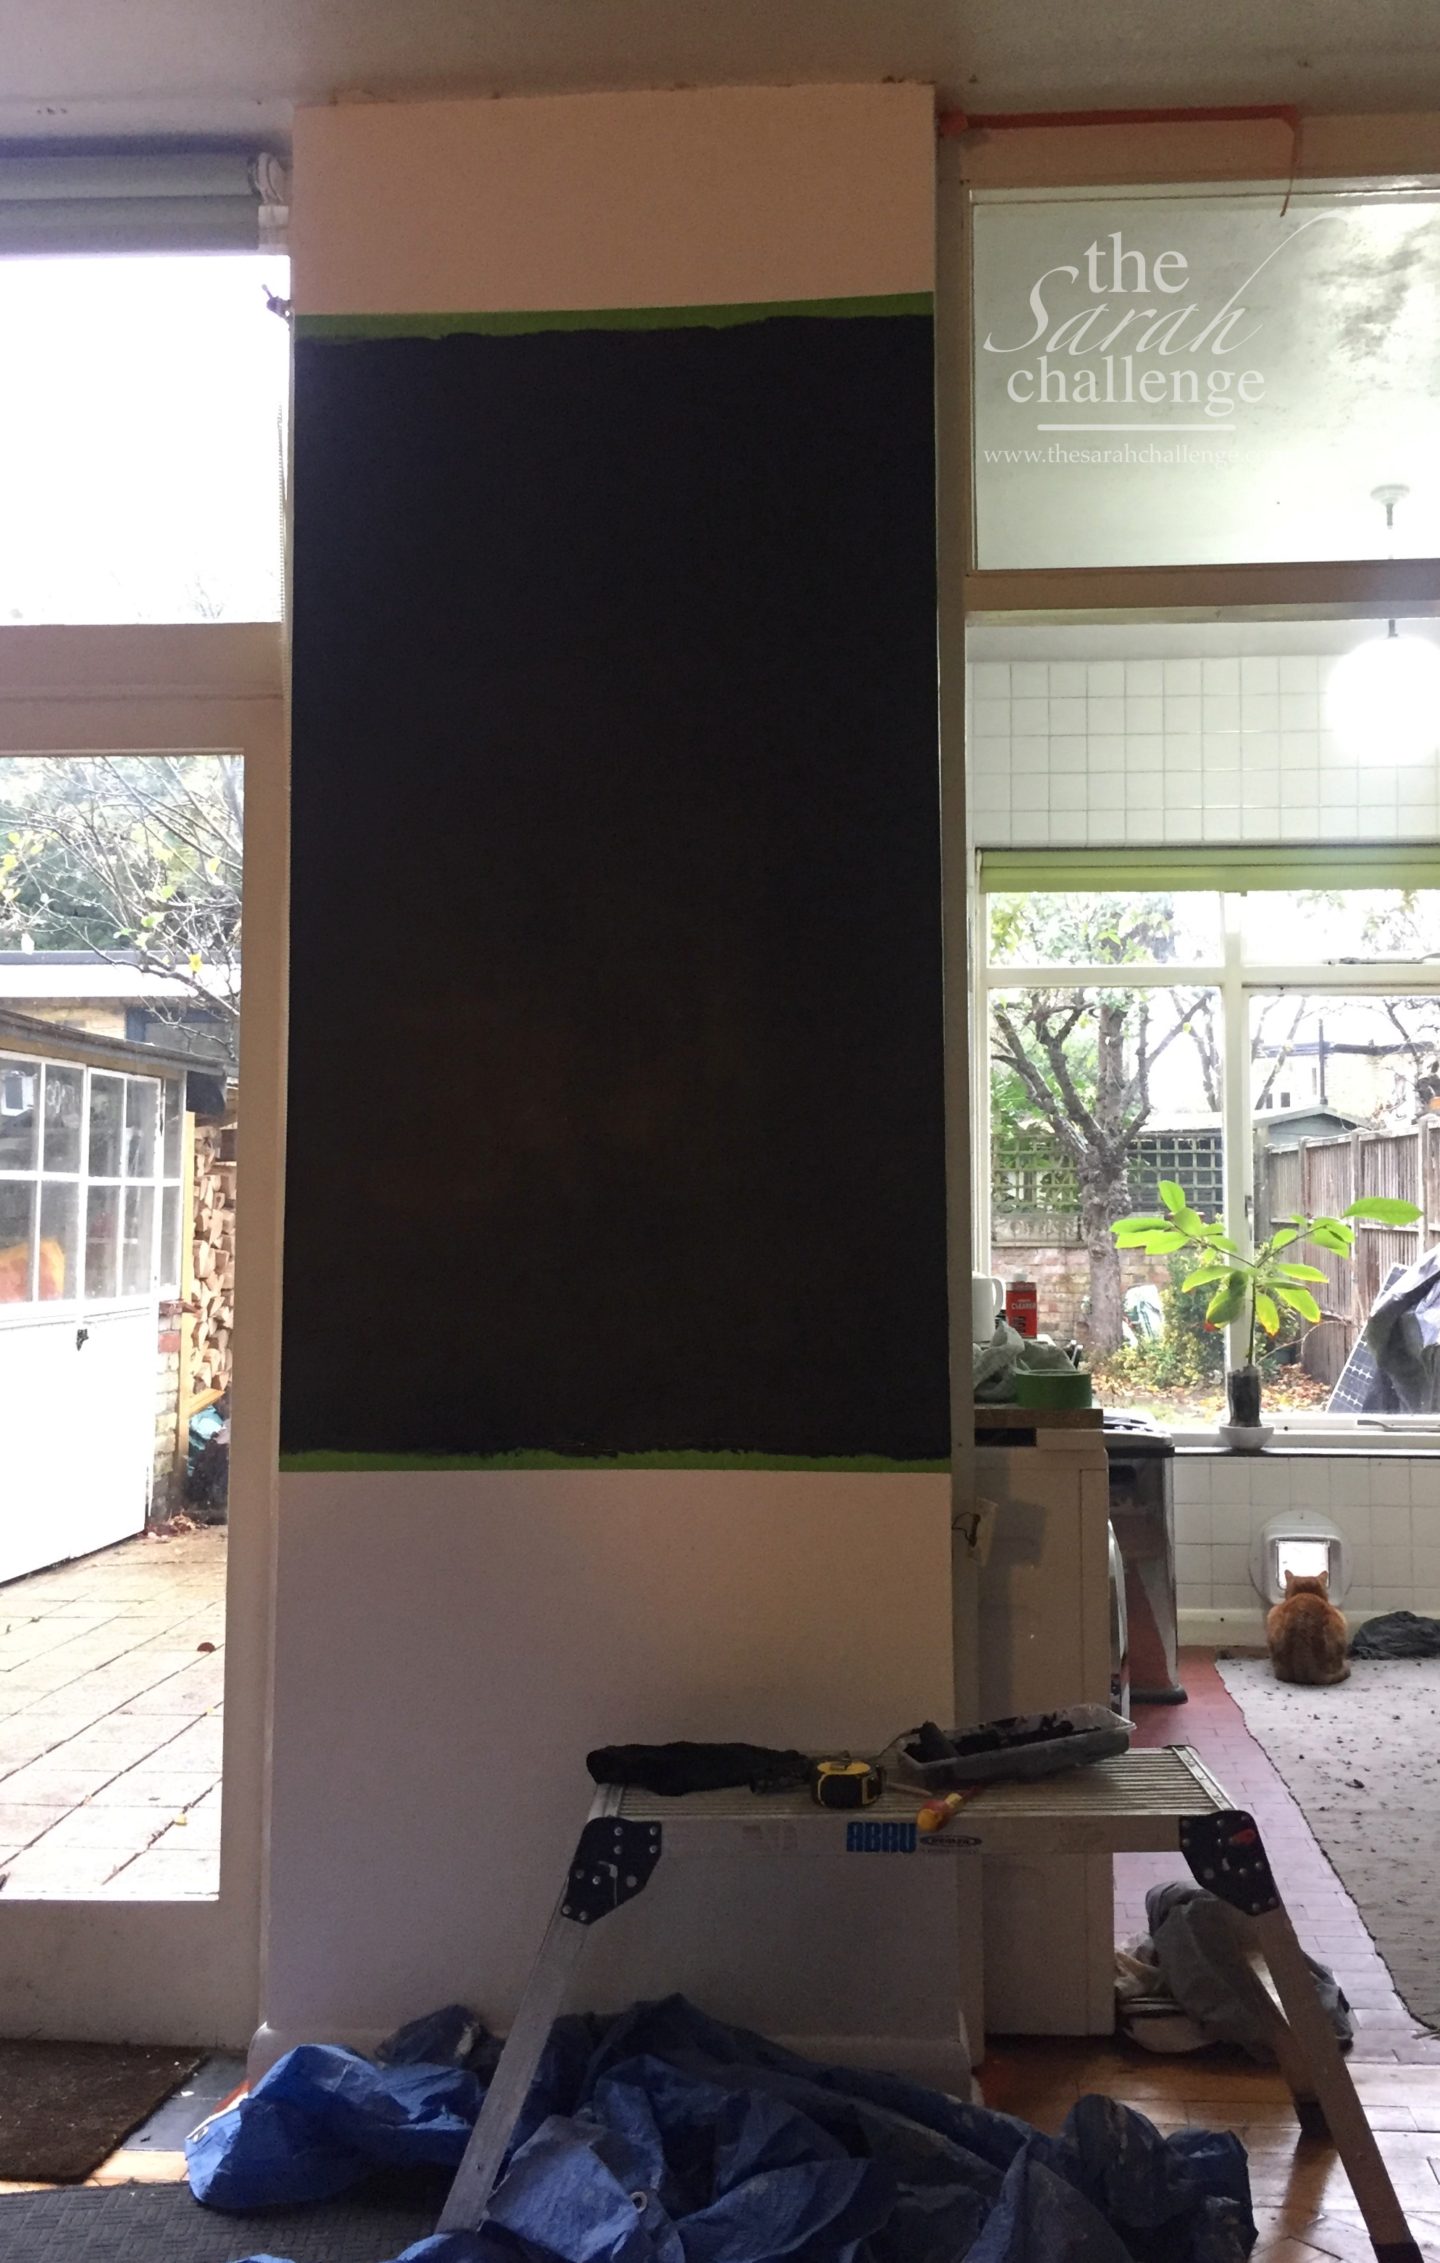
Blackboard painted
After waiting for the plaster to dry and three coats of emulsion, it was a few days later when I taped off and measured my “blackboard”. I wanted it to be slightly below the top of the drinks cupboard and still have some white space below the ceiling.
The blackboard paint covered well and I only had one or two touchups after it dried. Unfortunately, somehow, the blackboard paint peeled with the tape at the bottom – so I taped it again just a bit lower and re-painted the jagged line.
The second tape removal worked like a charm.
Advertisement
Shelves
I ordered three cheap and cheerful white shelves to brighten up the space along with black shelf brackets. My thinking was this: we inherited a 1960/70s drink cabinet which I would fit perfectly on this wall, so I thought the balance of wood, white and black would work best for the space.
The black shelf brackets then disappear against the chalkboard wall – perfect. After measuring the spacing between the shelves (which I aimed to be equal over the painted blackboard space).
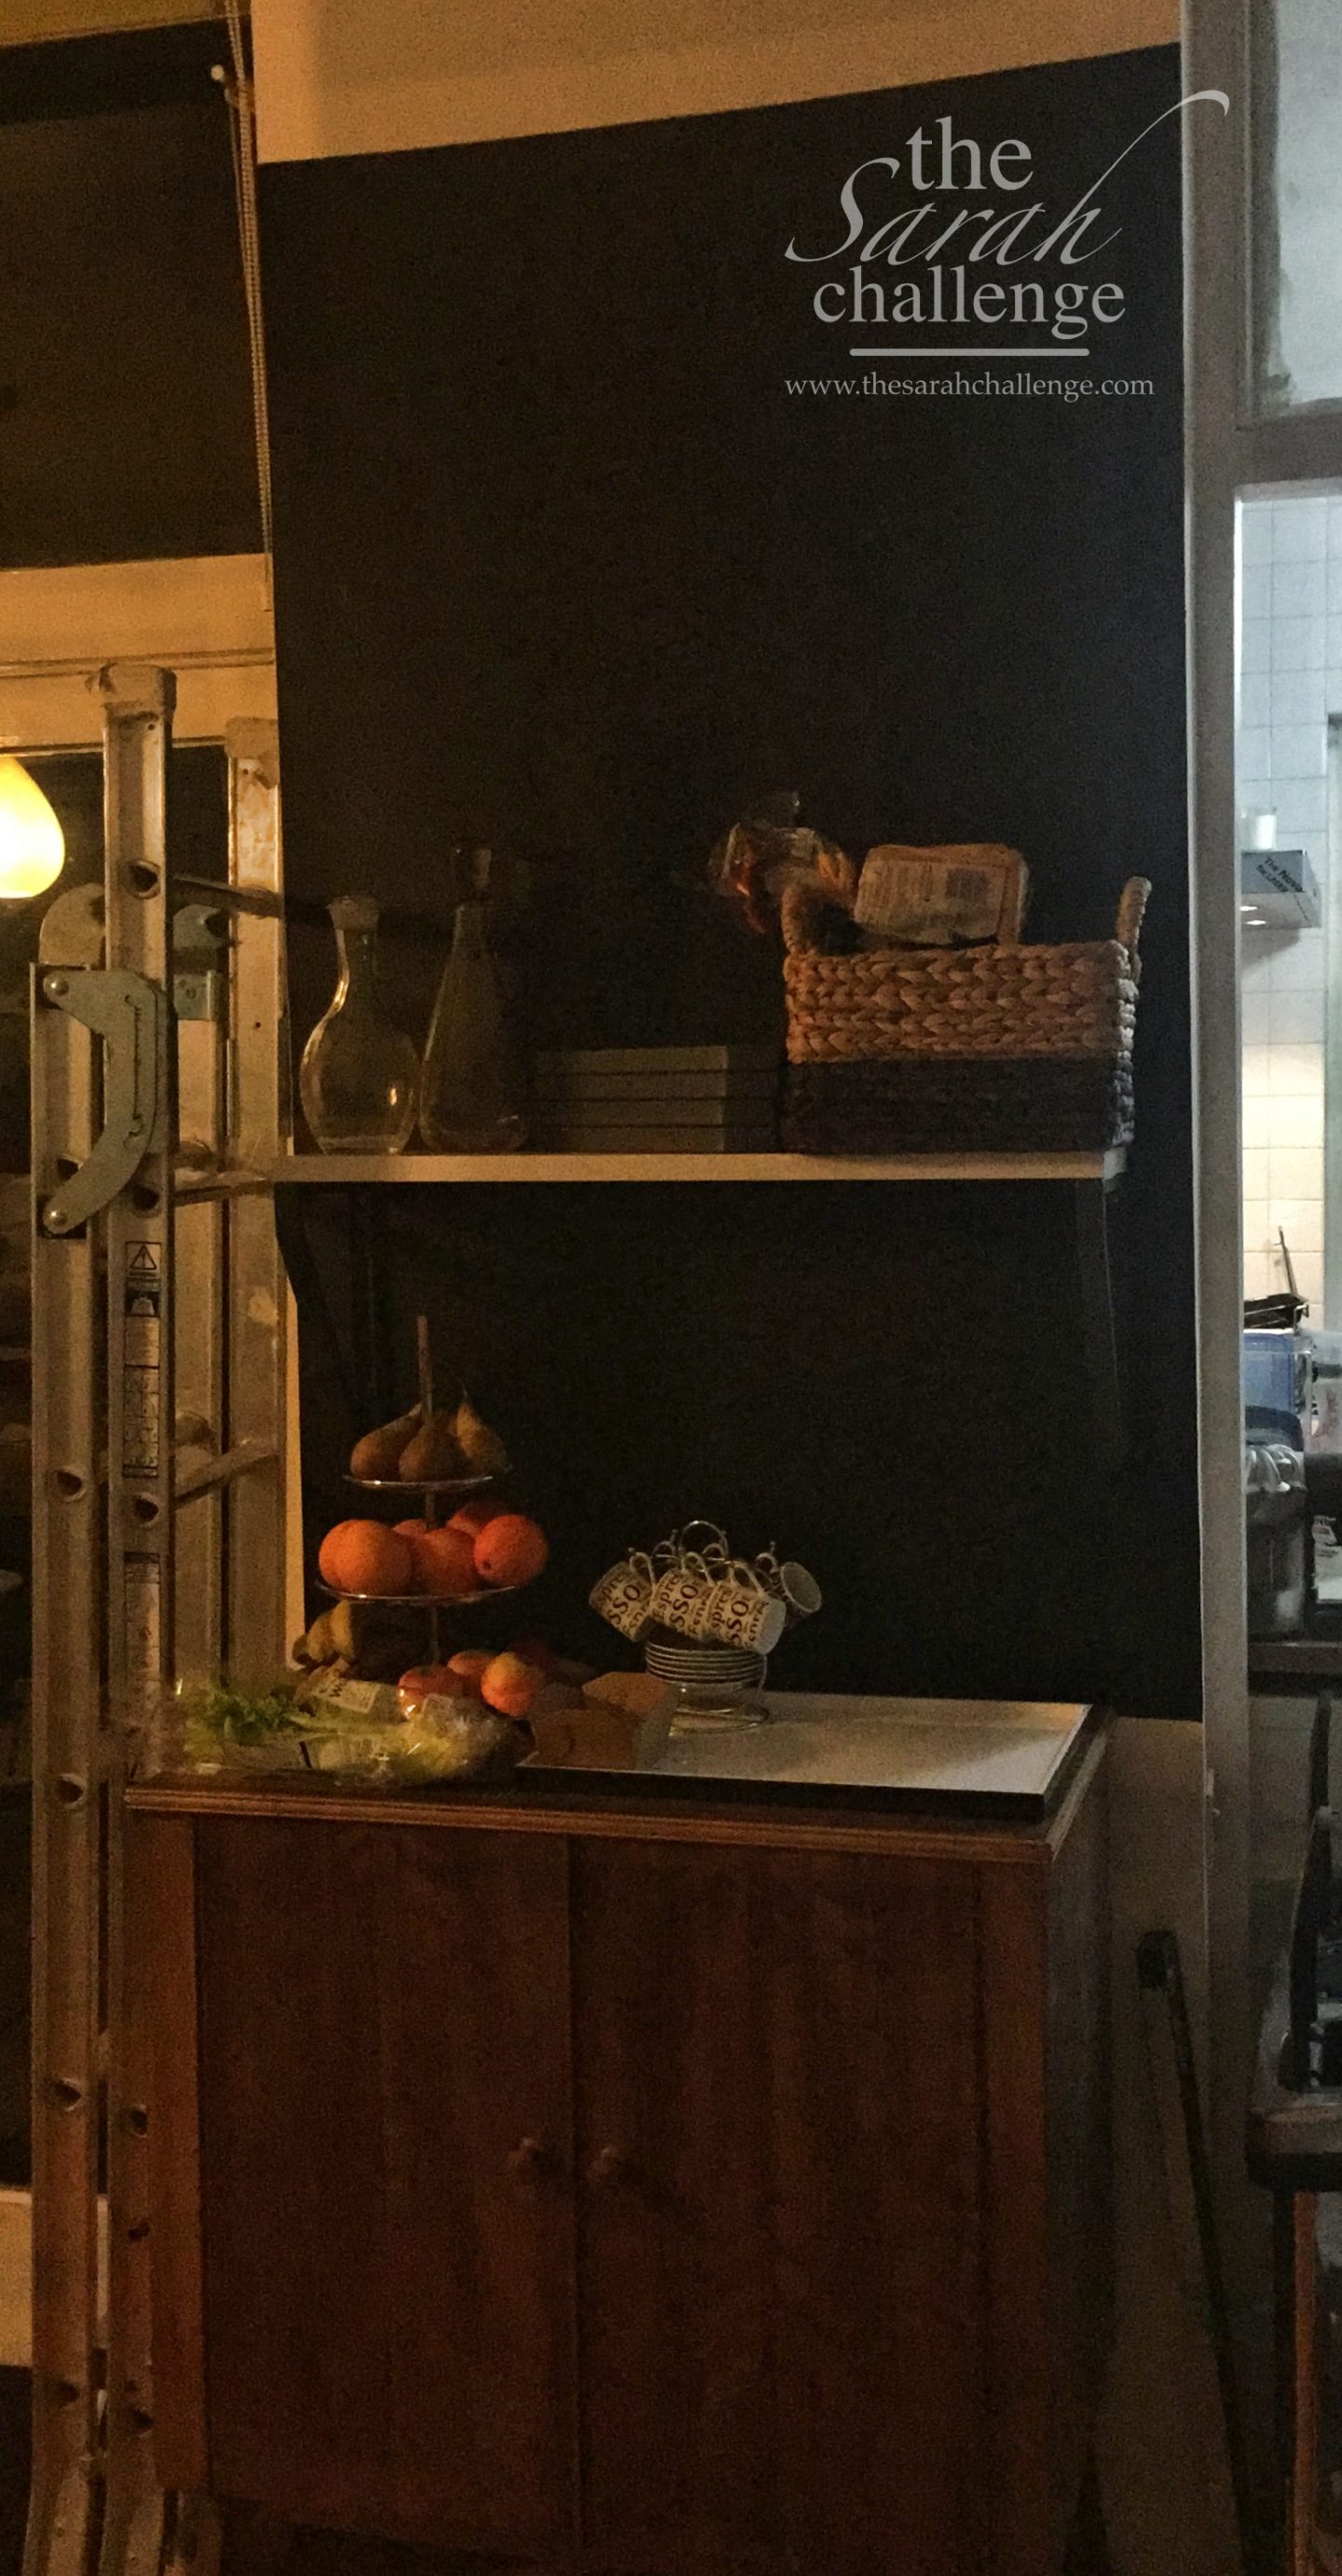
One shelf up
Decorating
Three shelves from IKEA delivered later (because £9.99 shipping is worth it to not have to drive and endure the fresh hell that is IKEA),
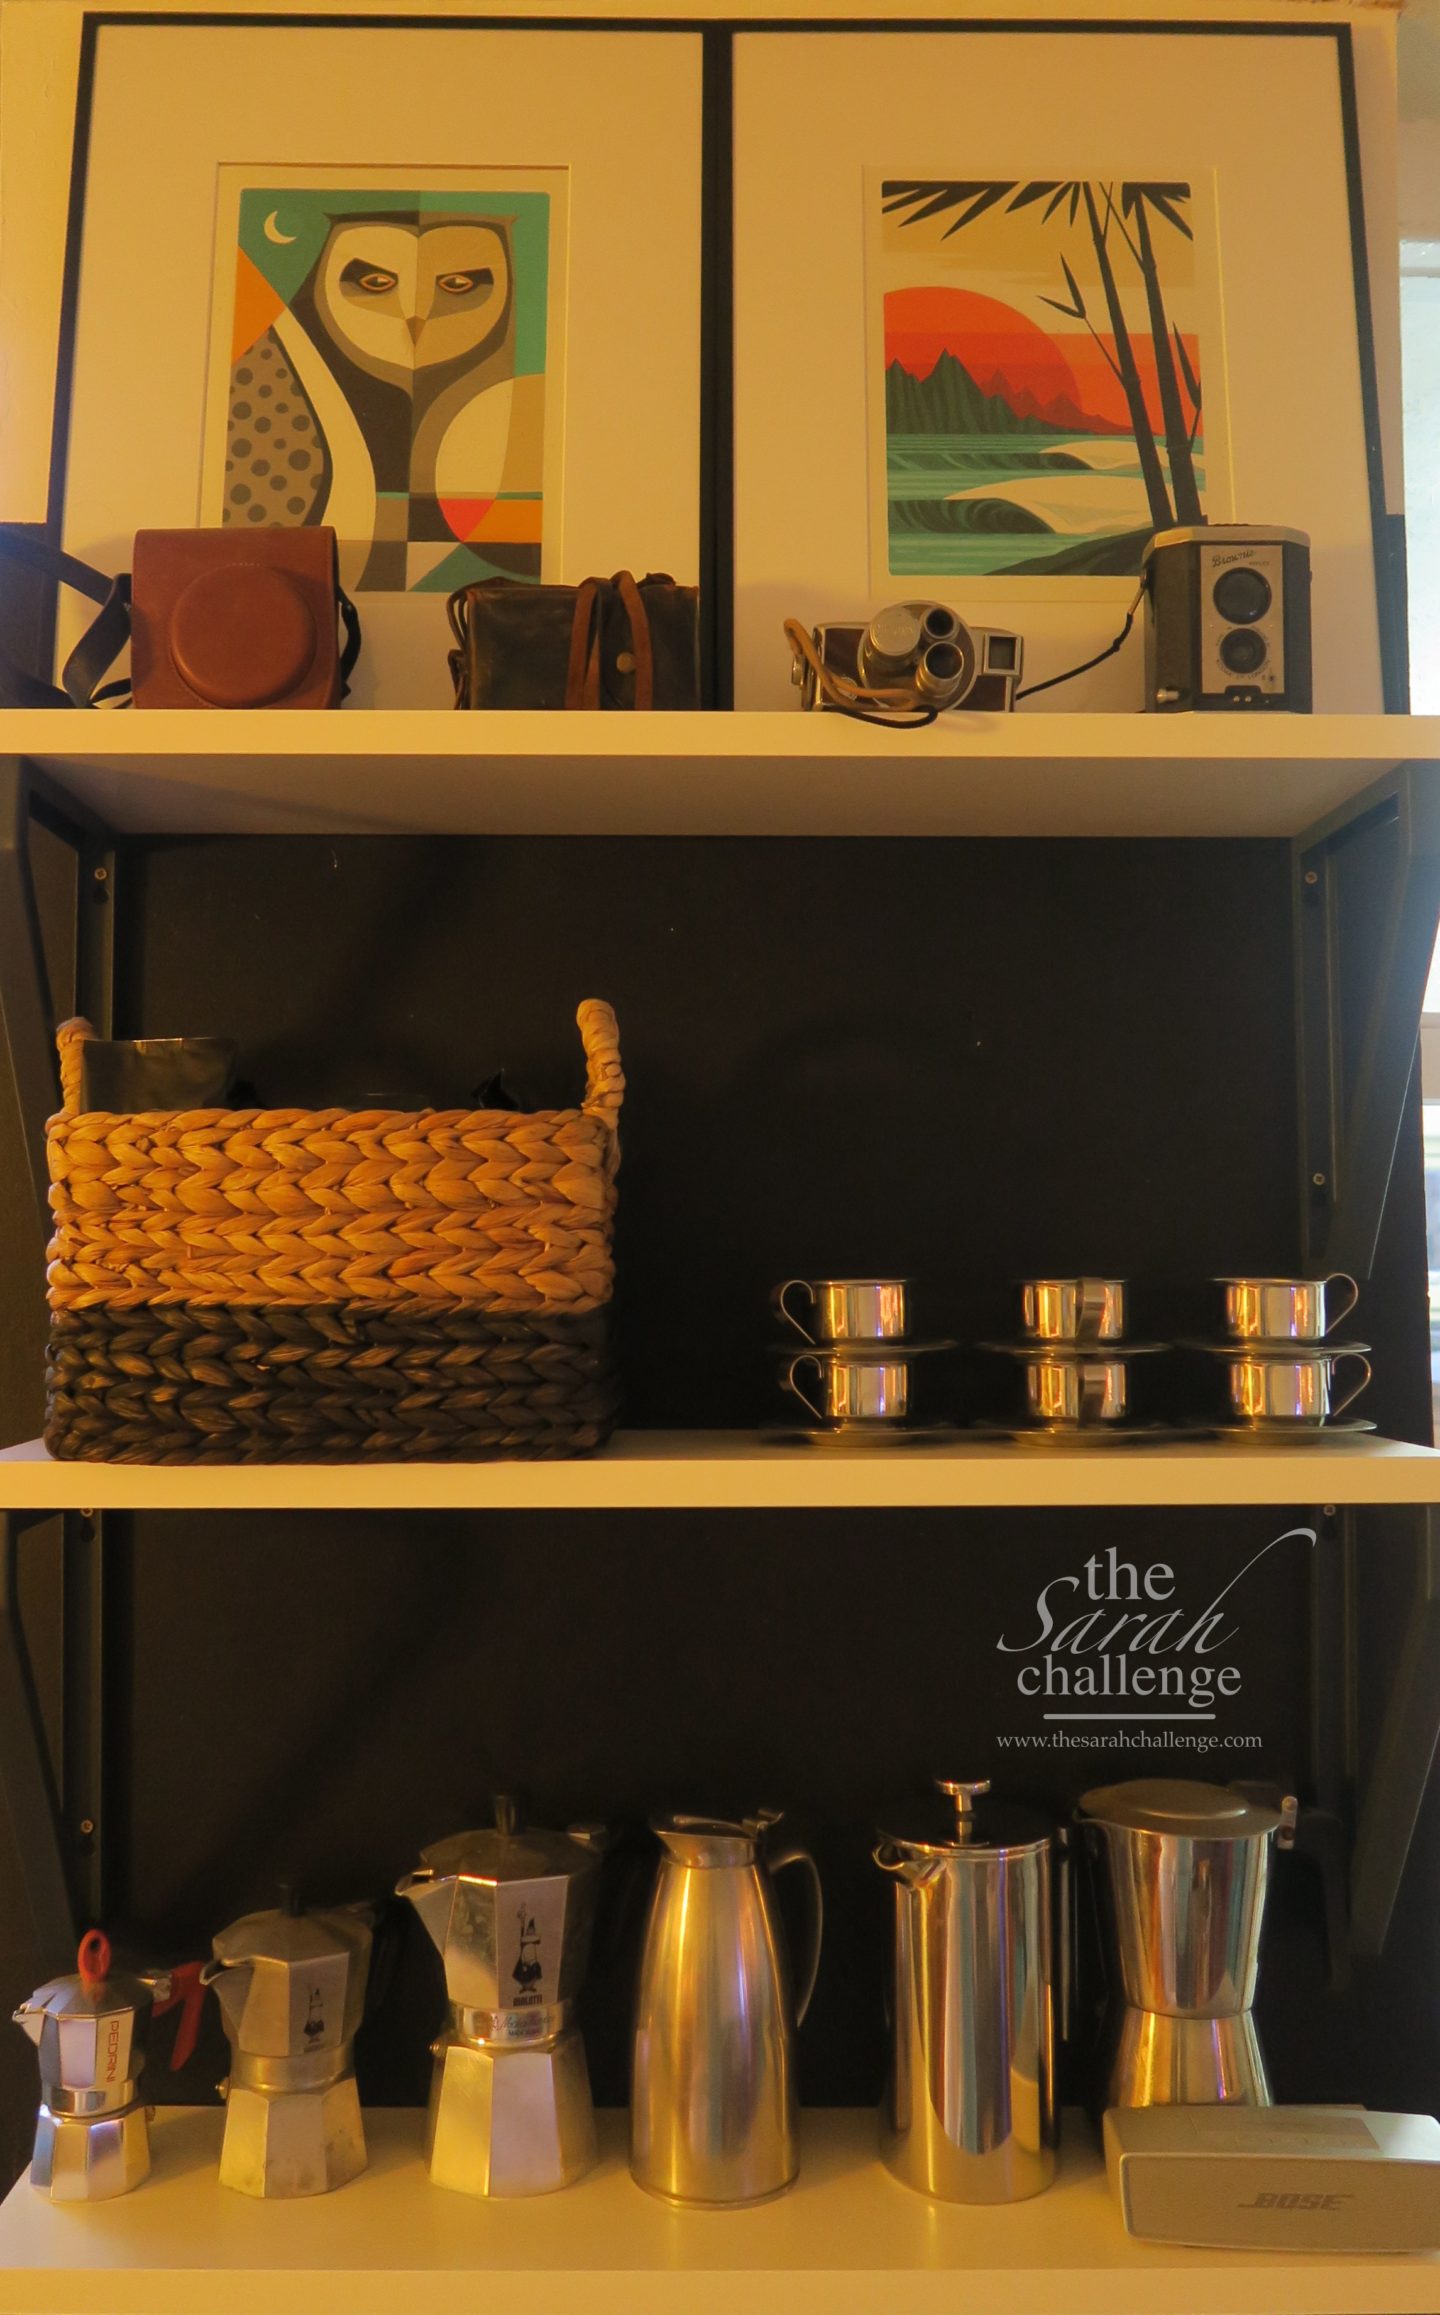
I brought out two screen prints I bought in Breckenridge, California by a local artist and they really tied in the colours of my living room.
I then freed up a shelf in my kitchen to display my caffetieres and espresso makers, along with these amazing stainless steel espresso cups.
Finished DIY drink station
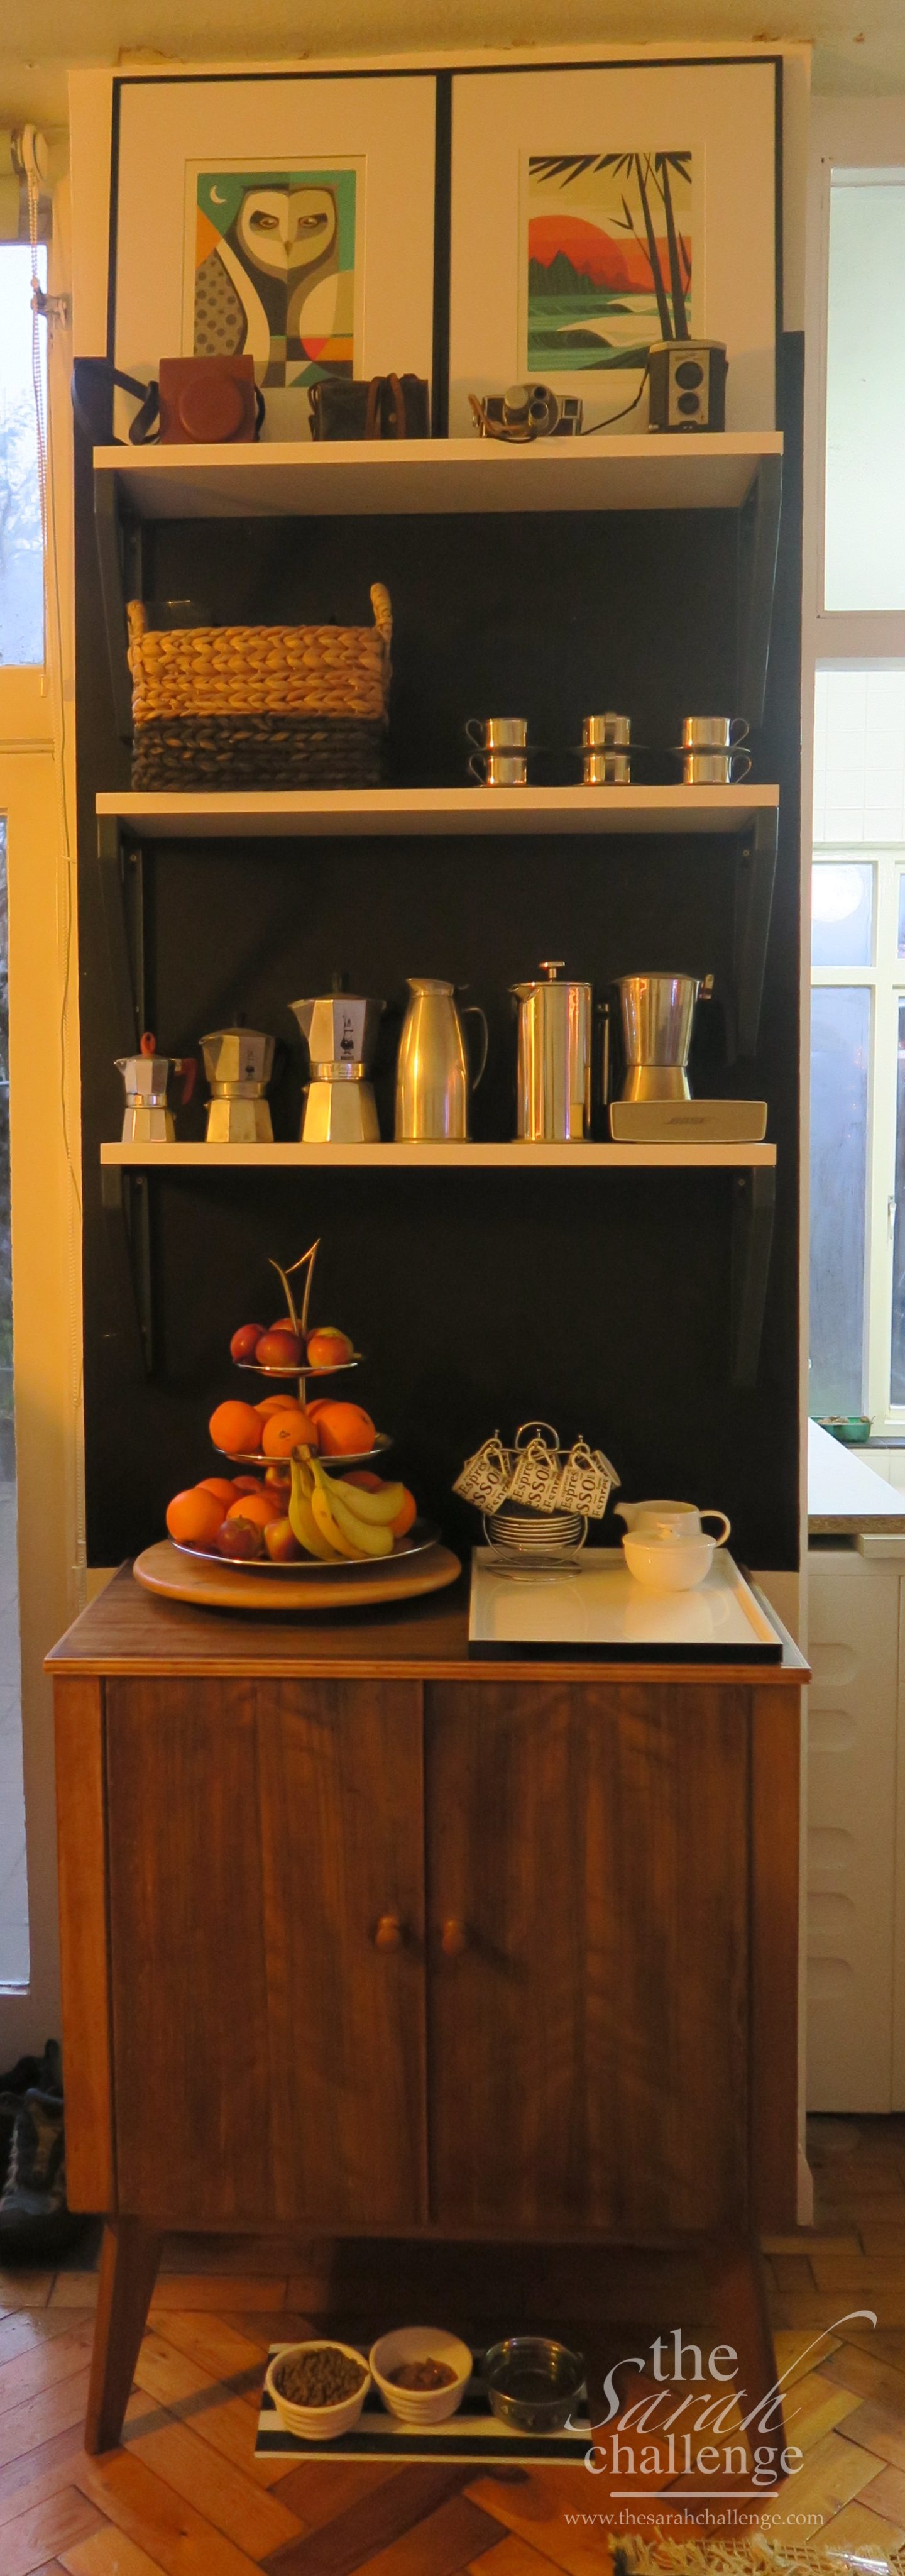
What do you think? A lot more work than I was intending it to be, but I think this ended up looking great.
Let me know what you think in the comments!
